More than 60% of cold emailing teams still think their campaigns are failing because of bad copy, but the real issue is usually email deliverability.
That's why the first thing I do when something feels off is run an email deliverability check.
It quickly tells me whether my emails have a real chance of reaching the inbox or if there's a problem that needs fixing before I send another campaign.
In this guide, I'll show you:
Whether you're a founder, an SDR, or an agency owner running cold outreach, this process will help you land more emails in the inbox and keep them out of spam.
Let’s get started!
For readers in a hurry, here's the whole check on one screen:
| # | Check | What It Tests | Free Tool I Use |
|---|---|---|---|
| 1 | Authentication | SPF, DKIM, DMARC alignment | Salesforge Email Deliverability Test |
| 2 | Inbox Placement | Whether mail lands in Primary, Promotions, or Spam | Salesforge Inbox Placement Test |
| 3 | Sender Reputation | Domain and IP trust score with Gmail and Outlook | Google Postmaster Tools, Microsoft SNDS |
| 4 | Blacklists | Whether the sending domain or IP is on any major blocklist | MXToolbox, Spamhaus |
| 5 | Compliance Signals | Complaint rate, bounce rate, one-click unsubscribe | Postmaster Tools |
| 6 | Content and Cadence | Spam triggers, volume ramp, sending patterns | GlockApps, Mail-tester |
If any one row falls out of spec, the others usually follow within a week.
So the goal of running the check is to catch problems early, not after your campaign has already tanked.
The bar for landing in the inbox is higher than it was even two years ago, and the reason is straightforward. Google, Yahoo, and Microsoft now actively enforce bulk sender rules instead of quietly filtering non-compliant mail into spam.
Here's what shifted over the last two years:
So running an email deliverability check in 2026 is not a vanity exercise. It's how you stay inside the enforcement windows that decide whether your outreach reaches humans at all.
Authentication and complaint thresholds are the enforceable part of deliverability, and they're what most guides focus on. But the biggest shift in 2026 is quieter, and it's the one most cold email senders haven't adjusted for yet.
In January 2026, Google embedded Gemini 3 directly into Gmail andMicrosoft has been rolling out Copilot inside Outlook throughout the year.
What this means, in practice, is that there's now an AI layer sitting between your email and your reader, and it's rewriting the rules for what lands in Primary.
These AI filters don't just scan for authentication and spammy words the way older filters did. They
That prediction now shapes inbox placement as heavily as your authentication records do.
Here's what that means for the check you're running:
So the 6-step check I've walked you through still catches the technical failures.
But if your check comes back clean and your emails are still underperforming, you're almost certainly running into the AI layer, not the classic spam filter.
Four counter-plays that actually work in 2026:
⭐Pro tip: The AI layer is why "the same email that worked last year lands in Promotions today." If your open rates dropped in the last six months without any change to your setup, the filter got smarter, not your copy worse. Adjust the copy and the segmentation, not the mailbox.
The check I run has six steps, and I go through them in this order because each step builds on the last. Skip one and you'll end up chasing symptoms instead of causes.
Authentication is the foundation of email deliverability, and it's where most problems begin. If your SPF, DKIM, or DMARC records are missing, misaligned, or misconfigured, no other fix will hold.
Here's what each protocol does, in plain language:
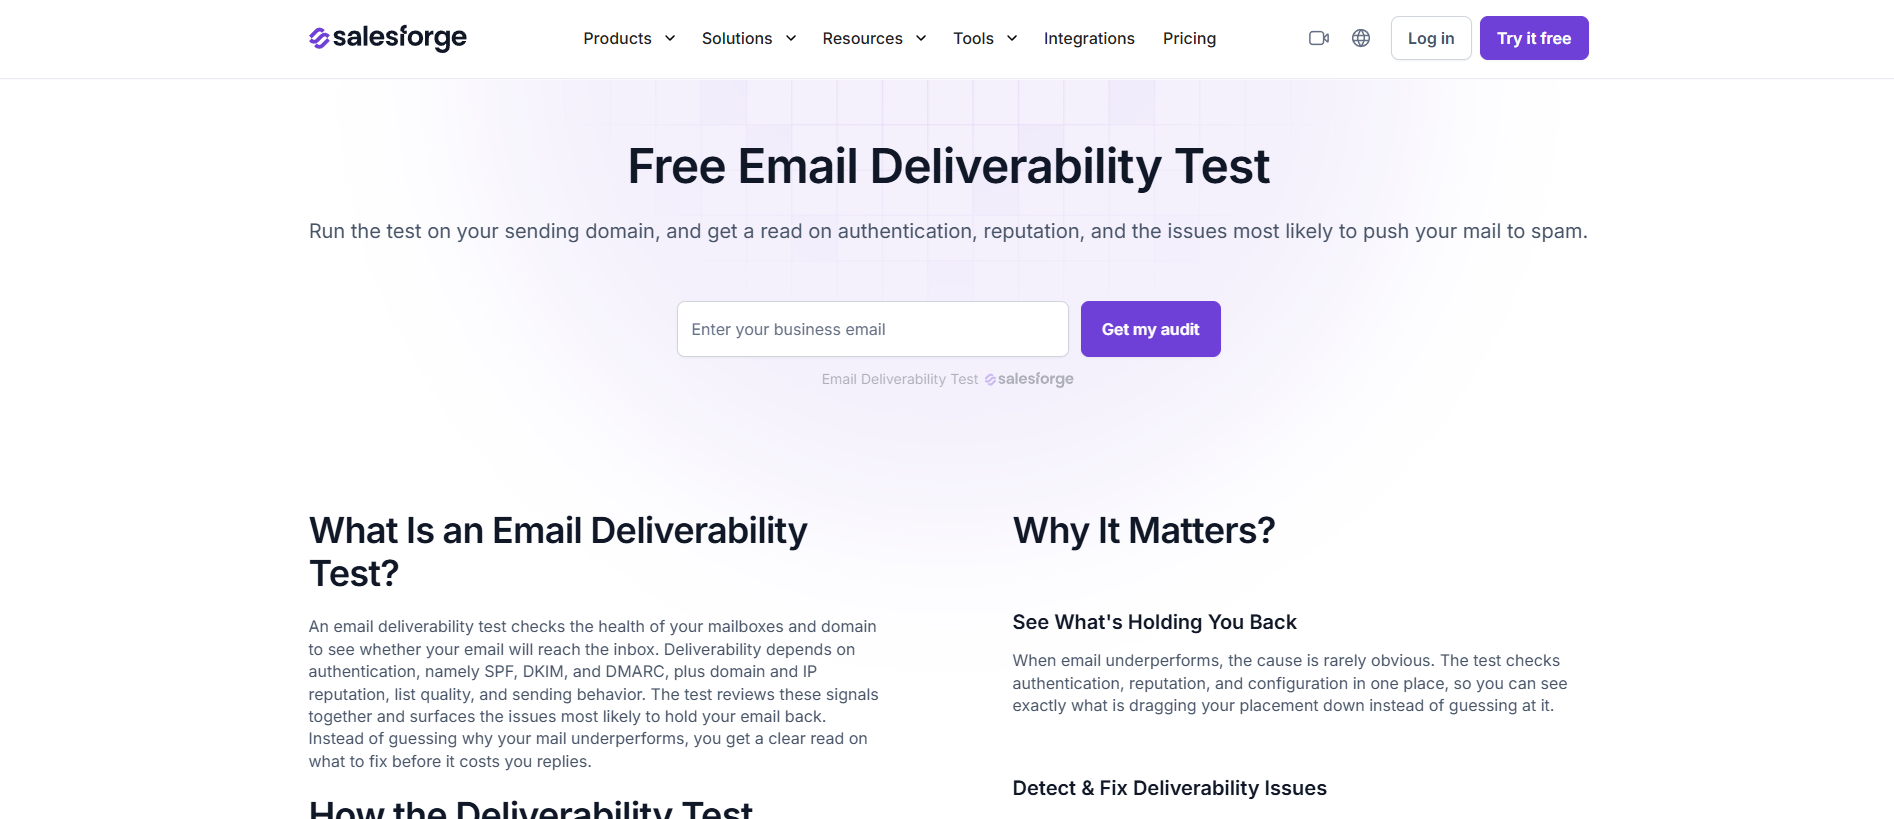
To audit all three in one place, I run my sending domain through the Salesforge Email Deliverability Test.
It's free, it gives me a full read in under a minute, and it flags the exact records that are broken. For deeper inspection on individual records, MXToolbox and the Google Admin Toolbox both work well.
⭐ Pro tip: If your DMARC policy has been sitting on p=none for six months or more, you're leaving deliverability on the table.
Move to p=quarantine once your reports confirm every legitimate sender passes. A stricter policy can lift Gmail inbox placement by up to 10%.
The three failure patterns I see most often on this step:
If any of these show up on your check, my complete SPF, DKIM, and DMARC setup guide walks through each fix.
And if you're managing more than one or two mailboxes, this is exactly the step where Primeforge earns its keep. It configures SPF, DKIM, and DMARC on every mailbox automatically, so this check passes by default.
Authentication passing doesn't mean your emails are actually landing in the inbox. It just means the receiving server trusts you enough to consider the message.
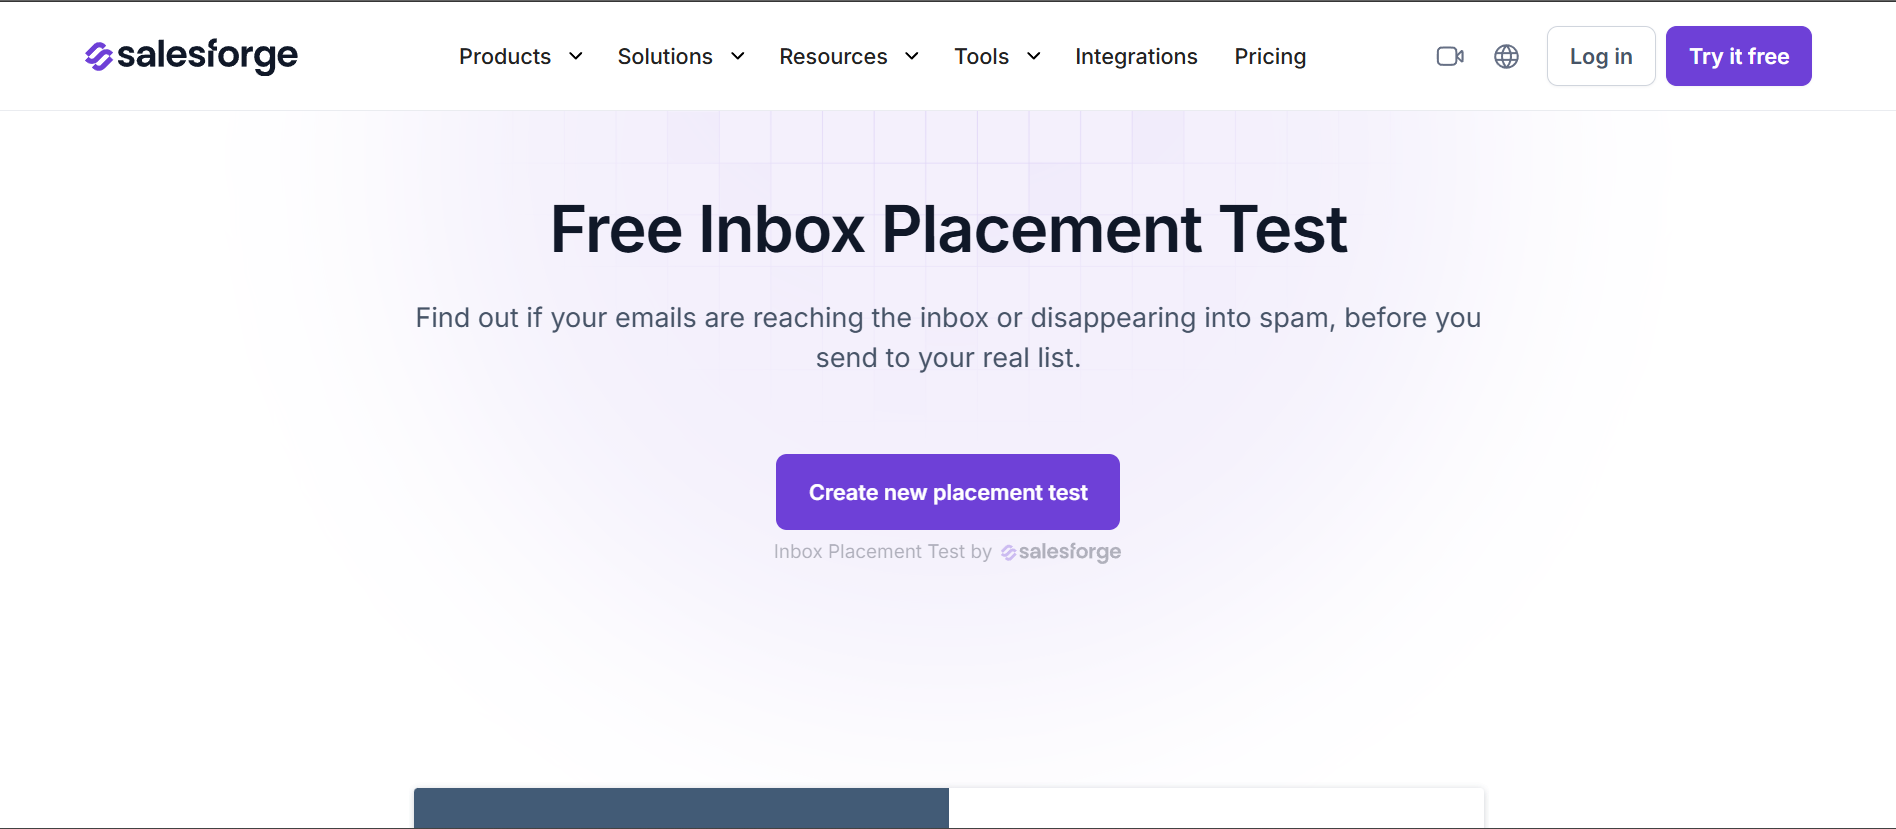
Whether it goes to Primary, Promotions, or Spam is a separate question, and the only way to answer it is a seed test.
A seed test sends your email to a network of real test addresses across Gmail, Outlook, Yahoo, and other major providers. The report shows exactly where your message landed at each one.
I run this two ways depending on the situation:
Recommended targets in 2026:
💡Keep in mind: Gmail personalises tab placement per recipient, so a single seed result can mislead you.
Always test across multiple seed addresses, and read the trend across a week rather than reacting to one bad report.
For a full comparison of placement testing tools, my inbox placement tools breakdown covers what each one does well and where each falls short.
Reputation is your credit score with mailbox providers. Every message you send either builds it or burns it, and this check tells you where you stand today.
I look at reputation in three places:
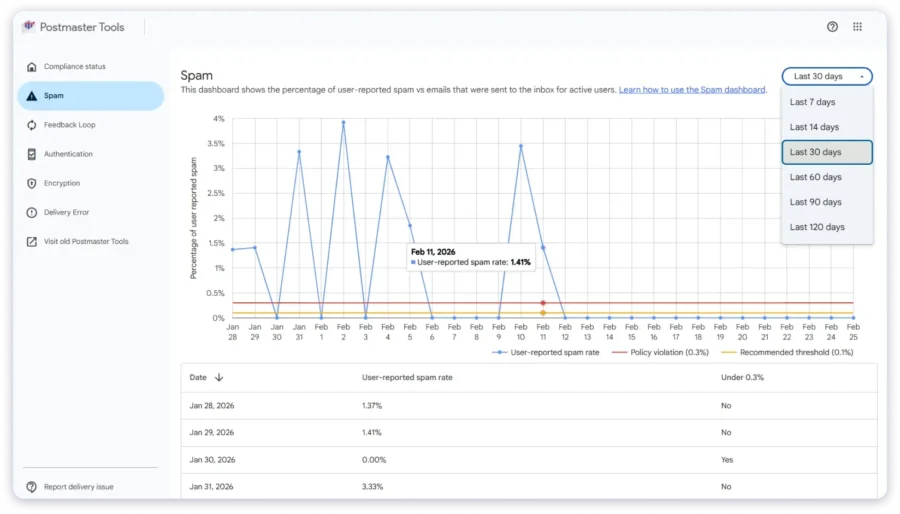
💡Pro tip: Don't panic over a single-day dip. Reputation is a rolling assessment, and providers weigh two-week trends far more heavily than daily noise.
What matters is the direction. If your line is trending down for a week straight, act. If it's a one-day drop after a bigger send, watch it for 48 hours before touching anything.
I also treat any reputation dip as a signal to check my warmup. New mailboxes need at least 14 days of gradual, controlled sending before they're ready for production volume.
If reputation trouble shows up on a mailbox that's less than a month old, the warmup ran too fast.
Check out the blog on the top tools for monitoring sender reputation.
Blacklists are databases of domains and IPs flagged for spam or abuse. Getting listed on one can crush inbox placement overnight, and the worst part is you often don't know until reply rates fall off a cliff.
The blacklists that matter most for cold outreach in 2026:
To scan against all of them at once, I run my sending domain and IP through MXToolbox. It checks around 30 major blacklists in a single query and flags any listings clearly.
💡Keep in mind: If you find a listing, don't request delisting first. Fix the root cause. That usually means cleaning your list, pausing sends, and confirming your authentication is intact.
Only then do you submit a removal request with proof of remediation. A listing that comes back a second time is much harder to clear than the first.
Read this guide on how to check if your domain is blacklisted as it covers the process end to end.
This is the step most people skip, and it's often the one that costs them the most. The bulk sender rules from Google, Yahoo, and Microsoft come down to three numbers and one header.
The three numbers to audit:
The header to audit:
Pro tip: A rising complaint rate is almost always a targeting problem, not a copy problem.
If your complaints crossed 0.1% this week, look at who received the emails before you rewrite the sequence. For the full picture on why complaints wreck reputation and how to prevent them, my breakdown of why high spam complaints hurt deliverability is worth the read.
Once the technical layers pass, the last check is the human one. What does your email look like, and how are you sending it?
Content signals to review:
Sending pattern signals to review:
💡Recommended: If you're sending from Salesforge, use its built-in throttling and mailbox rotation to spread volume automatically.
It handles the timing math so you don't accidentally trip a rate limit. And if you want a deeper technical checklist for what to audit every month, my domain health checklist for cold email success covers everything.
Once you've run all six checks, here's how I grade the results. This is the same scorecard I use before I greenlight any campaign:
| Metric | Green (Ship it) | Yellow (Monitor) | Red (Stop and Fix) |
|---|---|---|---|
| Inbox Placement | ≥85% | 70–84% | <70% |
| Spam Complaint Rate | <0.1% | 0.1–0.3% | >0.3% |
| Bounce Rate | <2% | 2–5% | >5% |
| DMARC Policy | p=quarantine or p=reject | p=none with reporting | No DMARC |
| Domain Reputation (Postmaster) | High or Medium | Low | Bad |
| Warmforge Heat Score | 85+ | 60–84 | <60 |
Green across the board means you're clear to send. Yellow in one row means monitor and adjust before scaling. Red anywhere means stop, diagnose, and re-warm before sending another message.
Here's the pattern I see over and over. Someone runs the check, finds a problem, fixes it, sends for a few days, and then the same failure shows up again a week later. And again the week after that.
If that's you, the check isn't the problem. Your mailbox setup is.
Most cold email operations lose deliverability at the source.
The mailboxes were spun up on cheap resellers, on international IPs, or on Google Workspace accounts that were never configured for cold outreach in the first place. So the authentication records drift, the reputation caps out at "medium," and every audit turns up the same warnings.
This is exactly the gap Primeforge closes.
Primeforge provides real Google Workspace and Microsoft 365 mailboxes built specifically for cold outreach. Every mailbox ships with:
No EDU tricks. No reseller mailboxes on shared international IPs. No fragile setup that breaks the next time Google updates its policies.
If you're running the deliverability check every month and finding the same red flags each time, Primeforge is the fix at the source.
Log in to Primeforge and get real Google and Microsoft mailboxes ready in 30 minutes.
A single check tells you where you stand today. A cadence tells you when something is drifting before it becomes a full-blown emergency.
Here's the cadence I follow:
Pro tip: Set up automated alerts wherever the tool supports them. Warmforge, Google Postmaster Tools, and MXToolbox all send notifications on reputation dips and blacklist hits. Catching a problem on day one is dramatically easier than recovering from a week-long slide.
Running the 6-step email deliverability check is the diagnostic habit that keeps me out of trouble. It takes about 20 minutes, uses mostly free tools, and it's the single highest-leverage routine I've built into my outbound workflow.
But no amount of checking fixes a mailbox that was never built for cold outreach in the first place. And in 2026, with AI filters weighing engagement and provider reputation more heavily than ever, the mailbox layer matters more, not less.
If you take one thing from this guide, take this. The check tells you what's wrong. The infrastructure decides whether it stays wrong.
So if you're tired of running the same audit every week and finding the same warnings on the same records, the fix isn't a better tool or a longer checklist. It's a mailbox built for the job.
Log in to Primeforge and start with real Google and Microsoft mailboxes that pass the deliverability check by default.
Delivery rate measures whether the receiving server accepted your email without a hard bounce. Deliverability measures whether the message actually reached the inbox instead of the spam folder. Your ESP might report 98% delivery while half your mail is quietly filtered to spam. Always check inbox placement separately.
For a full audit in one place, use the Salesforge Email Deliverability Test. For inbox placement, the Salesforge Inbox Placement Test or Warmforge's free placement test slot. For reputation, Google Postmaster Tools and Microsoft SNDS. For blacklists, MXToolbox. These five tools cover every step of the check at zero cost.
Aim for 85% or higher on seed tests before scaling a campaign. Between 70% and 84% is a yellow flag that needs attention. Below 70% means something is structurally broken, and you should stop sending until it's diagnosed and fixed.
Before every large campaign, after any DNS change, weekly during high-volume sending, and at least once a month during quiet periods. Automated alerts through Warmforge or Google Postmaster Tools catch drifts you would otherwise miss.
Because the mailbox provisioning is broken at the source. If SPF, DKIM, or DMARC keeps drifting back into a failing state, the underlying setup isn't stable. This is usually a symptom of reseller mailboxes, EDU tricks, or manual configuration that wasn't done to spec. Real Google Workspace or Microsoft 365 mailboxes with automated DNS setup solve this permanently.
Standard Google Workspace mailboxes still require manual SPF, DKIM, and DMARC configuration in DNS, and misconfigurations remain the top reason cold email lands in spam. Primeforge mailboxes handle this automatically at provisioning, so authentication passes on day one.
Partially. Authentication, reputation, and blacklist checks all work without sending. But inbox placement testing requires a real message going to a seed list. So a full deliverability check will always involve at least one test send.