
Personalized Outbound Strategy
Get The Right Outbound Strategy In Minutes
Enter your email to get a custom plan & stack recommendation for your business
It's being carefully crafted by AI
Please check your mailbox in 5 minutes

The Primeforge API helps GTM teams automate the setup work behind cold email infrastructure. You can use it to create workspaces, search domains, buy domains, choose Google Workspace or Microsoft 365, create mailboxes, manage DNS, set forwarding, buy pre-warmed mailboxes and export mailboxes into Salesforge, Warmforge or another sending platform.
The key point is simple: Primeforge is the infrastructure layer. It does not run your outbound campaigns. After the domains and mailboxes are ready, you connect them to Salesforge for sequences, sending, replies and reporting. Warmforge should run before live volume starts.
If you only take one rule from this guide, use this one: automate checks first. Keep purchases, DNS changes, exports, renewal changes, OTP access and deletions behind approval until the workflow is proven.
Base URL: https://api.primeforge.ai/public
Authentication: send your Primeforge API key in the Authorization header for public resource calls.
Best first test: GET /workspaces
Main GTM endpoints: /workspaces, /domains/search-available, /domains, /domains/{id}/mailboxes, /mailboxes, /mailboxes/pre-warmed, /domains/{id}/dns, /domains/bulk-dns, /domains/forwarding and /workspaces/{id}/exports/salesforge.
What it does not do: it does not create Salesforge sequences, send campaigns, score replies or manage LinkedIn steps.
Best operating model: use Primeforge to create provider-native infrastructure, export mailboxes to Salesforge, start Warmforge, then let campaigns send only after checks pass.
Primeforge API Swagger reference: https://api.primeforge.ai/public/swagger/index.html#

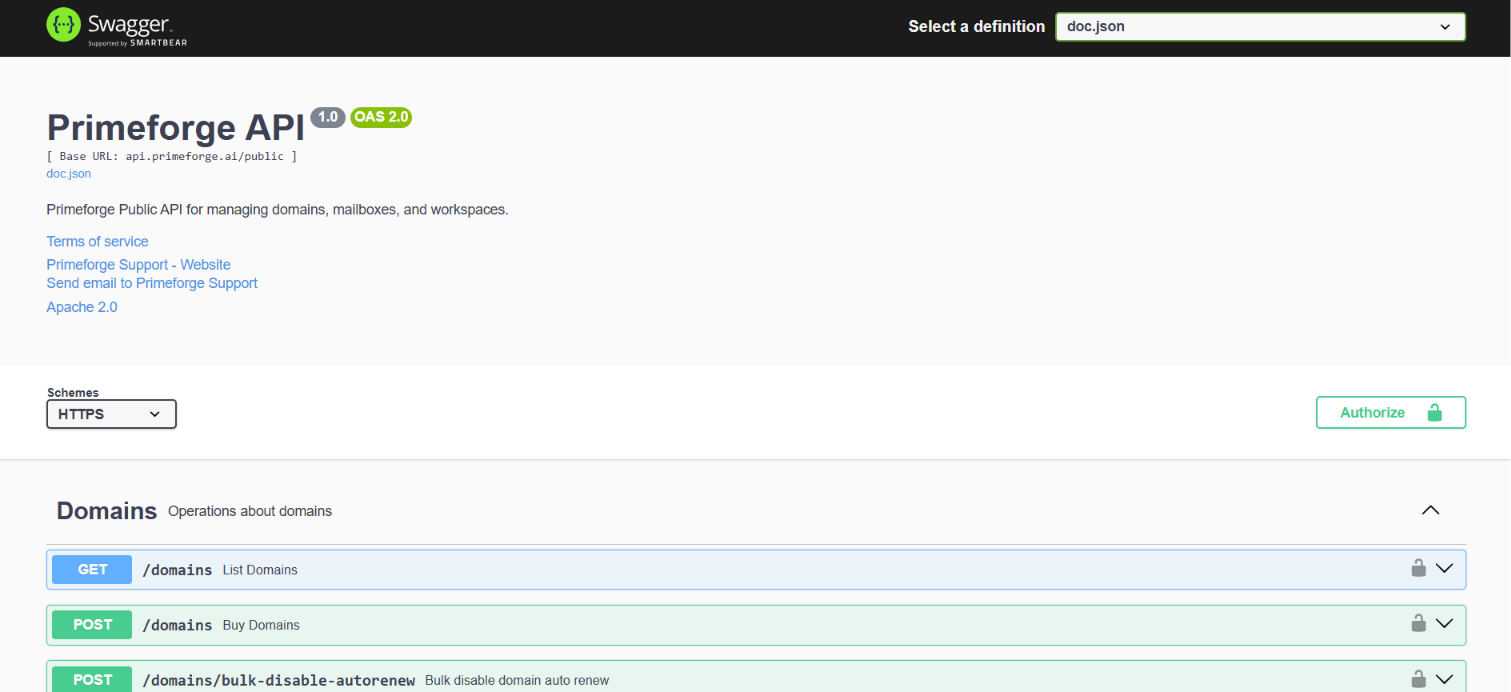
Use the Primeforge API when mailbox setup is now a repeatable GTM process. It is useful when an agency creates infrastructure for every client, when RevOps provisions mailboxes for each outbound pod or when a founder wants domain and mailbox setup inside an internal tool.
The API is less useful if you only buy a few domains from time to time. In that case, the dashboard may be enough.
The API starts to matter when the same handoff keeps slowing you down: a client is ready, someone checks domain options, someone chooses Google or Microsoft, someone buys the domain, someone creates mailboxes, someone exports them to the sending tool and someone starts warmup.
That is the workflow to automate. Not because it is flashy, but because it prevents missed steps.
I treated the Primeforge API as an operations system. The useful question is not “what endpoints exist?” The useful question is “what should a GTM team automate, and what should still need approval?”
For each endpoint, I looked at whether it creates or changes a key asset, whether it returns the ID needed by the next step, whether it needs status checks and whether it touches secrets like passwords or OTP codes.
Create your API key inside your Primeforge account. If your account does not show API key settings, ask your account owner or Primeforge support contact where keys are managed for your plan.
Use a clear environment variable name:
export PRIMEFORGE_API_KEY="YOUR_PRIMEFORGE_API_KEY"Do not mix Forge product keys. A Salesforge key is for Salesforge. A Warmforge key is for Warmforge. A Primeforge key is for Primeforge.
Keep the key server-side. Do not put it in browser code, screenshots, shared spreadsheets or files committed to Git.
For public Primeforge resource calls, pass the API key in the Authorization header.
curl --request GET \
  --url "https://api.primeforge.ai/public/workspaces" \
  --header "Authorization: ${PRIMEFORGE_API_KEY}" \
  --header "Accept: application/json"
A successful response returns workspaces with pagination:
{
  "pagination": {
	"limit": 100,
	"offset": 0
  },
  "results": [
	{
  	"id": "wks_abc123",
  	"name": "Acme outbound",
  	"slug": "acme-outbound"
	}
  ]
}
If this fails, fix authentication before you build the rest of the workflow. Common causes are the wrong key, the wrong header, a browser-side request or the wrong base URL.
Here is the practical endpoint map.
Workspaces keep infrastructure separated by client, brand or outbound motion. Create the workspace before you buy domains or create mailboxes.
curl --request POST \
  --url "https://api.primeforge.ai/public/workspaces" \
  --header "Authorization: ${PRIMEFORGE_API_KEY}" \
  --header "Content-Type: application/json" \
  --data '{
	"name": "Acme outbound"
  }'
Store the returned workspace ID in your CRM or ops database. Do not use the workspace name as your system key. Names can change. IDs are safer.
Domain search is a safe first automation because it does not spend money. Primeforge can also check whether the domain fits Google Workspace, Microsoft 365 or both.
curl --request GET \
  --url "https://api.primeforge.ai/public/domains/search-available?domain=tryacmeoutbound.com&check_google_workspace=true&check_ms365_workspace=true" \
  --header "Authorization: ${PRIMEFORGE_API_KEY}" \
  --header "Accept: application/json"
The response can show whether the domain is available, banned, premium, what it costs and whether Google Workspace or Microsoft 365 is available for it.
A clean flow is simple: generate domain ideas, check them, remove bad options, show the price and provider fit to an operator, then buy only the approved domains.
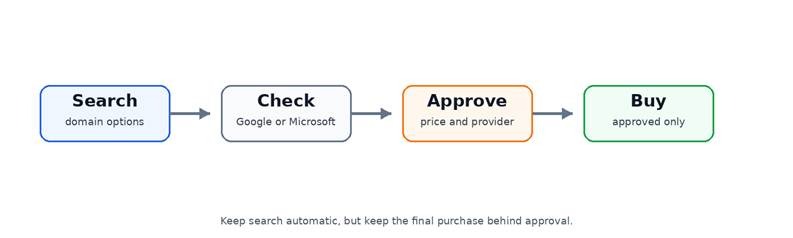
Domain purchase is where automation can spend money and create real infrastructure. Primeforge requires a platform value when buying domains. The public spec lists google and microsoft.
curl --request POST \
  --url "https://api.primeforge.ai/public/domains" \
  --header "Authorization: ${PRIMEFORGE_API_KEY}" \
  --header "Content-Type: application/json" \
  --data '{
	"workspaceId": "wks_abc123",
	"platform": "google",
	"domains": [
  	{
    	"domain": "tryacmeoutbound.com",
    	"mailboxes": [
      	{
        	"username": "alex",
        	"firstName": "Alex",
        	"lastName": "Morgan",
        	"signature": "Alex Morgan | Acme"
      	}
    	]
  	}
	],
	"contactDetails": {
  	"firstName": "Ops",
  	"lastName": "Owner",
  	"email": "[email protected]",
  	"phone": "+15555550123",
  	"address1": "123 Market St",
  	"city": "San Francisco",
  	"province": "CA",
  	"postalCode": "94105",
  	"country": "US",
  	"organization": "Acme Inc",
  	"dmarcEmail": "[email protected]",
  	"forwardToDomain": "acme.com"
	}
  }'
The endpoint returns 202 Accepted. That means Primeforge accepted the request. It does not mean every domain and mailbox is ready to use. Store the returned IDs, then check domain and mailbox status before the next step.
Do not retry a purchase blindly after a timeout. First list domains and check whether the first request already applied.
Primeforge domain records include status, failed reason, platform, workspace ID, expiration, forwarding target and auto-renew fields. Mailbox records include status, detailed status, forwarding status, export status and deletion state.
curl --request GET \
   --url "https://api.primeforge.ai/public/domains?workspaceId=wks_abc123&search=tryacmeoutbound" \
   --header "Authorization: ${PRIMEFORGE_API_KEY}" \
   --header "Accept: application/json"
curl --request GET \
   --url "https://api.primeforge.ai/public/mailboxes?workspaceId=wks_abc123&domainId=dom_123456789" \
   --header "Authorization: ${PRIMEFORGE_API_KEY}" \
   --header "Accept: application/json"
Do not connect a mailbox to a campaign just because it exists. Wait until the domain and mailbox are active, then check DNS, forwarding and export status.
You can create mailbox users during the domain purchase request, or you can add them later with POST /domains/{id}/mailboxes.
curl --request POST \
  --url "https://api.primeforge.ai/public/domains/dom_123456789/mailboxes" \
  --header "Authorization: ${PRIMEFORGE_API_KEY}" \
  --header "Content-Type: application/json" \
  --data '{
	"workspaceId": "wks_abc123",
	"mailboxes": [
  	{
    	"username": "alex",
    	"firstName": "Alex",
    	"lastName": "Morgan",
    	"signature": "Alex Morgan | Acme"
  	},
  	{
    	"username": "jamie",
    	"firstName": "Jamie",
    	"lastName": "Reed",
    	"profilePictureUrl": "https://example.com/jamie.jpg",
    	"signature": "Jamie Reed | Acme"
  	}
	]
  }'
The response includes created mailbox addresses. After that, list the mailboxes and check status. If one mailbox fails, handle that mailbox only. Do not repeat the domain purchase.
Primeforge mailbox records can include sensitive fields. The public spec shows password and appPassword, with app password listed for Google only. That means mailbox responses must be treated as secrets.
curl --request GET \
  --url "https://api.primeforge.ai/public/mailboxes/mb_123456789" \
  --header "Authorization: ${PRIMEFORGE_API_KEY}" \
  --header "Accept: application/json"
Primeforge also has an OTP endpoint:
curl --request GET \
  --url "https://api.primeforge.ai/public/mailboxes/mb_123456789/otp-code" \
  --header "Authorization: ${PRIMEFORGE_API_KEY}" \
  --header "Accept: application/json"
The OTP response includes otpCode and expiresAt. Do not log it. Do not expose it in a shared dashboard. Use it only for the setup step that needs it.
Primeforge gives you read and write access to DNS records. This is useful, but risky. Always read records before changing them.
curl --request GET \
  --url "https://api.primeforge.ai/public/domains/dom_123456789/dns" \
  --header "Authorization: ${PRIMEFORGE_API_KEY}" \
  --header "Accept: application/json"
DNS records include id, name, type, content and editable. Respect the editable field.
curl --request POST \
  --url "https://api.primeforge.ai/public/domains/dom_123456789/dns" \
  --header "Authorization: ${PRIMEFORGE_API_KEY}" \
  --header "Content-Type: application/json" \
  --data '{
	"name": "track",
	"type": "CNAME",
	"content": "tracking.example.com",
	"ttl": 3600
  }'
For bulk DNS maintenance, use PUT /domains/bulk-dns. It supports domain lists, DMARC email, DMARC policy, forwarding domain and CNAME records.
curl --request PUT \
  --url "https://api.primeforge.ai/public/domains/bulk-dns" \
  --header "Authorization: ${PRIMEFORGE_API_KEY}" \
  --header "Content-Type: application/json" \
  --data '{
	"domains": ["tryacmeoutbound.com", "getacmeoutbound.com"],
	"dmarcEmail": "[email protected]",
	"dmarcPolicy": "none",
	"forwardToDomain": "https://acme.com",
	"cnameRecords": [
  	{
    	"hostName": "track",
    	"type": "CNAME",
    	"address": "tracking.example.com"
  	}
	]
  }'
The bulk DNS endpoint returns 202 Accepted. Re-check the affected domains before you let them send.
Primeforge has pre-warmed mailbox endpoints. This is useful when a team wants to shorten the time between infrastructure setup and campaign launch.
curl --request GET \
  --url "https://api.primeforge.ai/public/mailboxes/pre-warmed" \
  --header "Authorization: ${PRIMEFORGE_API_KEY}" \
  --header "Accept: application/json"
The response can include domain name, domain age, platform, price and mailbox details. Review those fields before buying.
Pre-warmed does not mean you can skip checks. It means the mailbox may start from a stronger place. You still need DNS checks, forwarding checks, warmup status and safe sending limits.
Once mailboxes are active, export them to the right sending system. If you use Salesforge, use the native Salesforge export endpoint.
curl --request POST \
  --url "https://api.primeforge.ai/public/workspaces/wks_abc123/exports/salesforge" \
  --header "Authorization: ${PRIMEFORGE_API_KEY}" \
  --header "Content-Type: application/json" \
  --data '{
	"email": "[email protected]",
	"password": "SALESFORGE_ACCOUNT_PASSWORD",
	"workspaceSlug": "acme-outbound",
	"includedIds": ["mb_123456789"],
	"excludedIds": []
  }'
The endpoint returns 202 Accepted. After export, check mailbox fields such as lastExportSequencer, lastExportStatus and lastExportTime.
The general export endpoint also supports other platforms listed in the public spec: Salesforge, Warmforge, Instantly, Smartlead, Emailbison, Lemlist, Reply.io, Snov.io and Woodpecker.
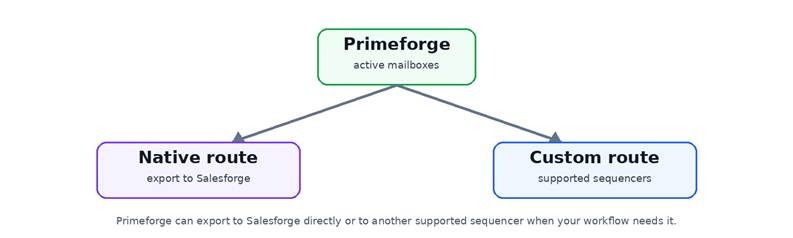
Primeforge makes the infrastructure ready. Warmforge helps decide whether a mailbox should start sending, slow down or wait.
curl --request POST \
  --url "https://api.primeforge.ai/public/workspaces/wks_abc123/exports/warmforge" \
  --header "Authorization: ${PRIMEFORGE_API_KEY}" \
  --header "Content-Type: application/json" \
  --data '{
	"email": "[email protected]",
	"password": "WARMFORGE_ACCOUNT_PASSWORD",
	"workspaceSlug": "acme-outbound",
	"includedIds": ["mb_123456789"],
	"excludedIds": []
  }'
Do not let a new mailbox send cold outreach just because it exists. A good launch gate checks domain status, mailbox status, DNS, forwarding, Warmforge activity, Salesforge export status and safe sending limits.

The REST API is best for backend systems, approval flows, audit logs and repeatable provisioning.
Forge MCP can be useful when an AI client needs controlled access to Forge stack actions. Confirm the current Primeforge MCP setup, headers and permissions in your account documentation before giving an AI client write access.
A CLI-style workflow is useful for repeatable operator commands. The same rule applies everywhere: reads are lower risk, while purchases, DNS writes, exports, renewal changes and deletions need approval.
The rule is simple: retry reads. Reconcile before retrying writes. Never retry a domain purchase, DNS change, export or deletion until you know what happened to the first request.
For an agency or GTM ops team, the clean workflow looks like this:
1.     A CRM or ops trigger says the client is ready.
2.     Create or select the Primeforge workspace.
3.     Search domains and check Google or Microsoft fit.
4.     Ask an operator to approve the final domains and provider.
5.     Buy only the approved domains.
6.     Store domain IDs and setup state.
7.     Create mailboxes or confirm the mailboxes created during purchase.
8.     Wait until domains and mailboxes are active.
9.     Check DNS and forwarding.
10.  Export mailboxes to Salesforge and Warmforge.
11.  Keep campaigns disabled until checks pass.
12.  Log every write action with the actor, time, workspace ID, domain IDs and mailbox IDs.
If one mailbox fails, fix that mailbox. If DNS fails, hold that domain back. If export fails, do not assign the mailbox to a campaign. The goal is not just to create infrastructure. The goal is to create infrastructure that is safe to use.
Primeforge API access can affect domains, DNS, passwords, app passwords, OTP codes, exports and renewal settings. Treat it like production access.
·        Store keys in a secret manager.
·        Keep development and production keys separate.
·        Do not log passwords, app passwords or OTP codes.
·        Require approval for purchases, DNS writes, exports, renewal changes and deletions.
·        Snapshot DNS before changes.
·        Use audit logs for every write action.
· Reconcile state after timeouts before retrying.Primeforge is best when you want provider-native Google Workspace or Microsoft 365 mailboxes for outbound. It sits before the sending layer.
Use Salesforge for sequences, sending, replies and reporting. Use Warmforge for warmup and sender health. Use Leadsforge when you need leads before the campaign. Use Mailforge when shared cold email infrastructure is a better fit.
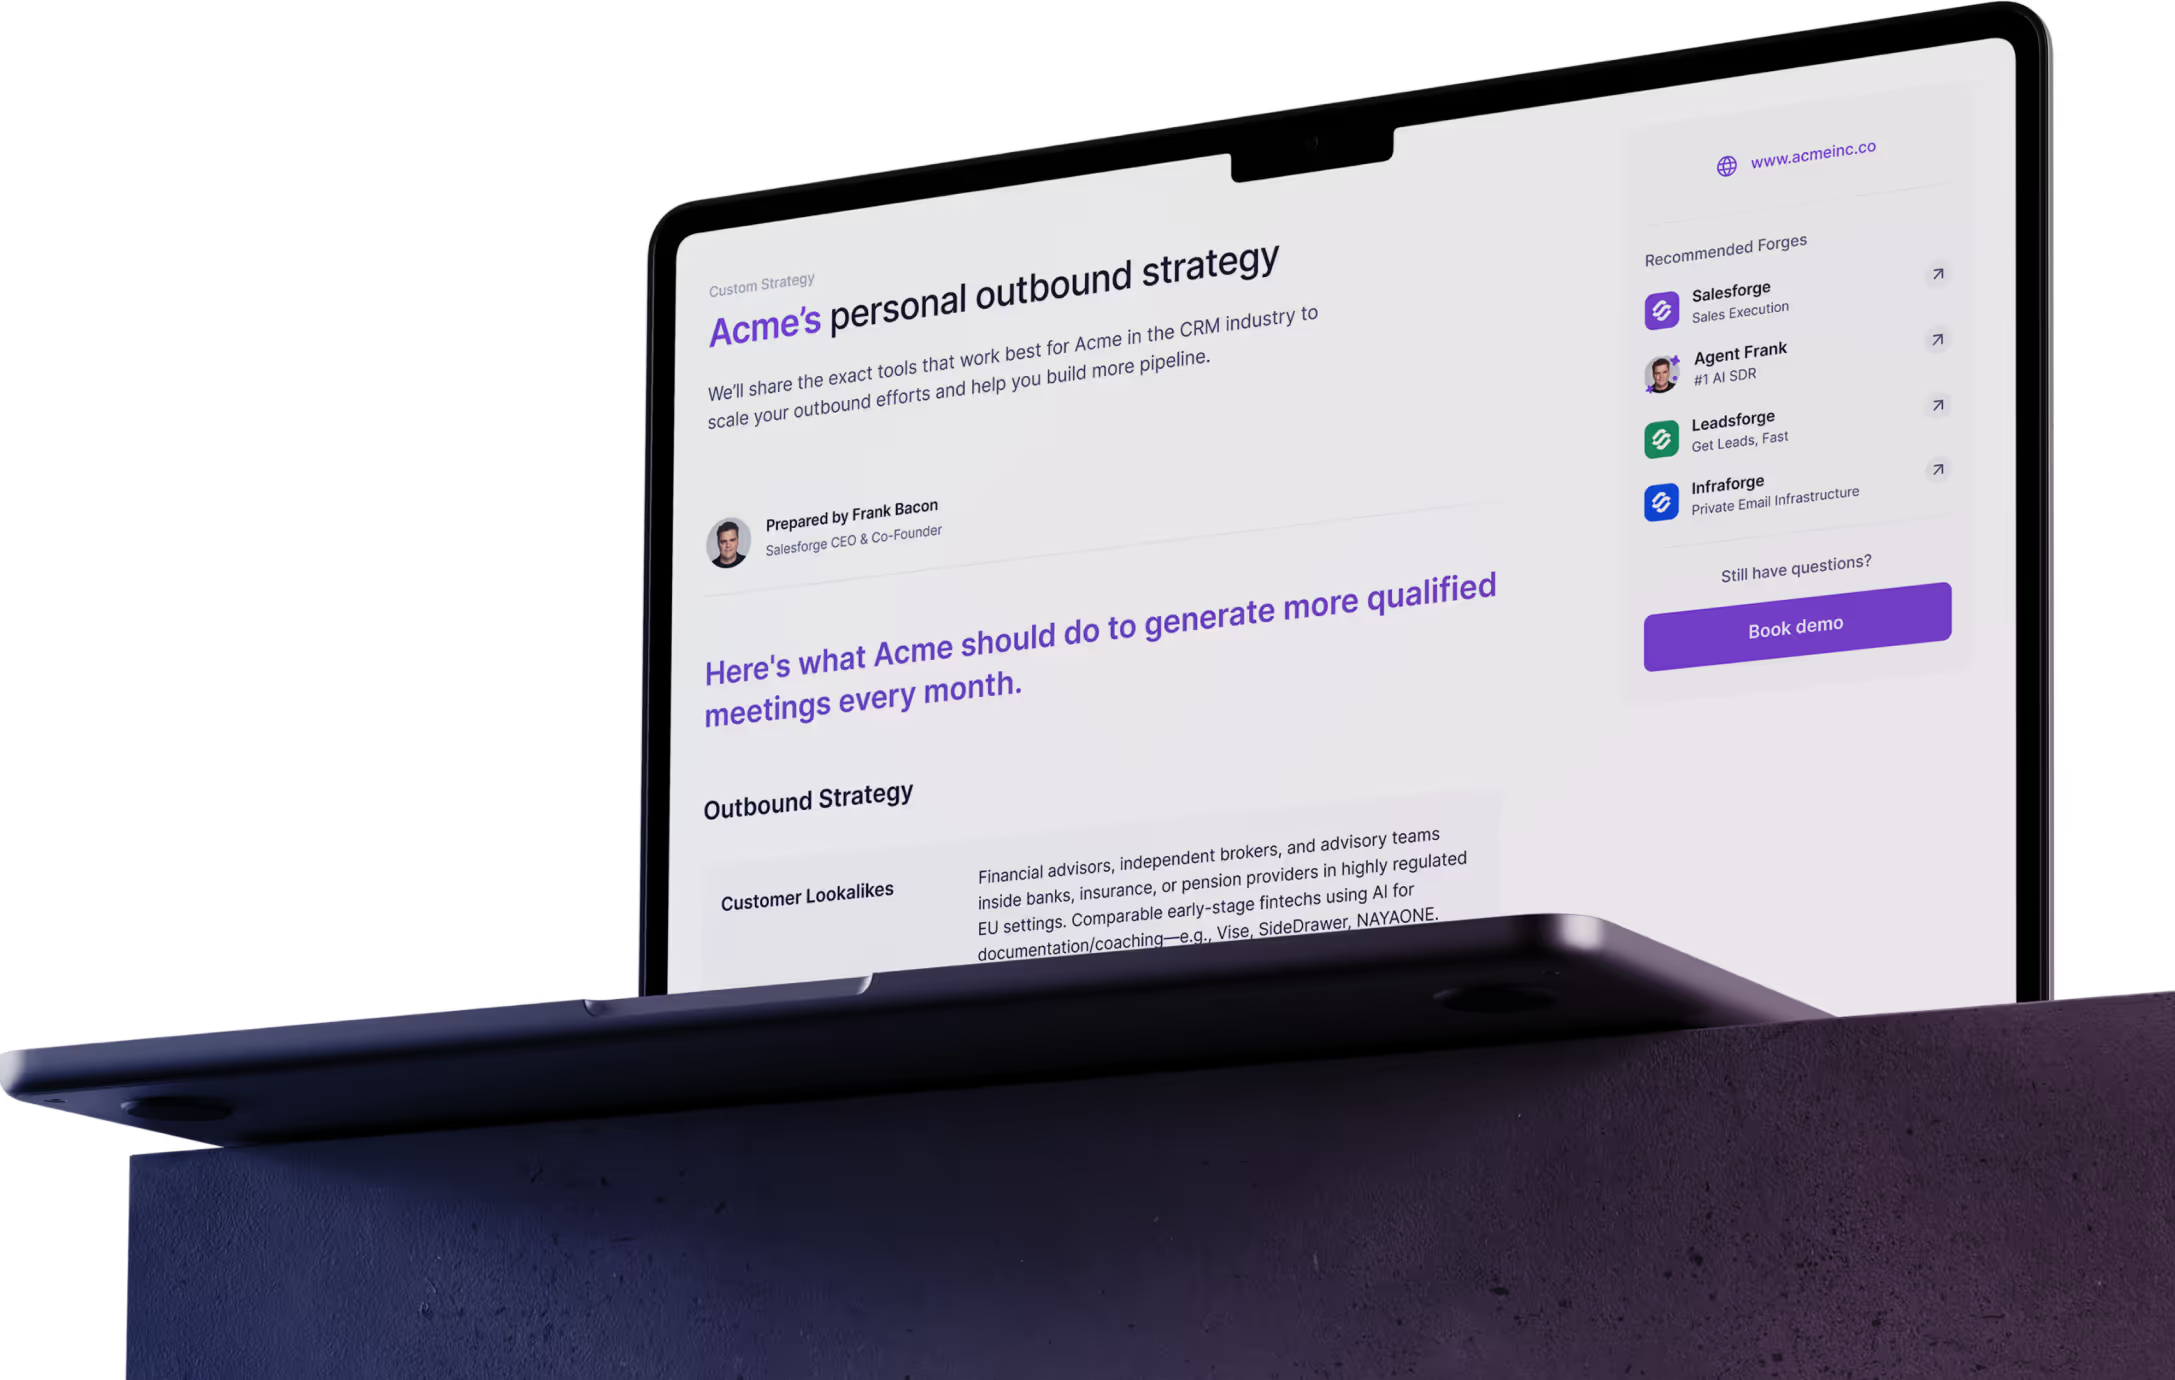
Use Infraforge when you need private infrastructure control. The right order is infrastructure first, warmup second, campaign setup third, sending volume last. The Primeforge API helps enforce that order.
Enter your email to get a custom plan & stack recommendation for your business
Please check your mailbox in 5 minutes
The Primeforge API is useful when your team sets up Google Workspace or Microsoft 365 outbound infrastructure often enough that manual work creates delays or mistakes. Start with read-only automation: list workspaces, search domains, inspect DNS and list mailboxes.
Then add guarded write actions, workspace creation, approved domain purchase, mailbox creation, forwarding and exports.
If you use Salesforge, the best handoff is Primeforge infrastructure into Salesforge execution, with Warmforge running before live sending. That gives your team one clear workflow instead of a loose set of scripts and manual checks.