Want your cold outreach emails to avoid spam folders? Configuring Microsoft 365 SMTP settings correctly is the key. Here's what you need to know upfront:
smtp.office365.com with Port 587 and STARTTLS encryption.Pro Tip: Gradually warm up new mailboxes over 4–6 weeks to build trust with Microsoft’s systems. Tools like Primeforge can simplify setup, reduce costs, and enhance efficiency by automating DNS updates and mailbox management.
Let’s dive deeper into how you can configure these settings to maximize email performance.

Microsoft 365 SMTP Configuration Settings and Limits for Cold Outreach
Getting the Microsoft 365 SMTP settings right is crucial for effective cold outreach. The standard setup involves using smtp.office365.com as the server address, with Port 587 and STARTTLS encryption. This configuration works for both personal and business accounts. However, there's an important update: starting September 2024, free Microsoft/Outlook accounts will no longer support SMTP for third-party apps. To connect your mailbox to outreach tools, you'll need a paid business subscription, starting at $6.99 per month.
To properly configure your Microsoft 365 mailbox for cold outreach, here’s what you’ll need:
| Setting | Value |
|---|---|
| SMTP Server Address | smtp.office365.com |
| Port | 587 |
| Encryption | STARTTLS or TLS 1.2/1.3 |
| Authentication | Required (Enabled via Admin Center) |
| Username | Full Microsoft 365 Email Address |
| Password | Account Password or App Password (if MFA is enabled) |
Stick to Port 587 with TLS encryption, as Port 25 is often blocked by ISPs.
SMTP authentication is turned off by default in new Microsoft 365 tenants. You’ll need to enable it manually through the Admin Center. Navigate to "Active Users" > "Mail" > "Manage email apps" to activate this feature. If Multi-Factor Authentication (MFA) is enabled, you won’t be able to use your standard password. Instead, you’ll need to create an App Password for SMTP access. As Smartlead highlights:
SMTP AUTH client submission is the recommended method for enabling authenticated email sending from Office 365, especially for developers and custom applications.
Once your setup is complete, it’s essential to monitor sending limits and restrictions to avoid issues like throttling.
Beyond the server setup, it’s important to understand Microsoft 365’s sending limits. While the platform allows up to 10,000 recipients per day across accounts, it’s wise to keep individual mailboxes to 30–50 emails daily. Sending more than this can trigger throttling, which delays or blocks emails. Microsoft also enforces a 30 messages per minute rate limit. If you exceed this, you’ll encounter errors such as HTTP 429 (Too Many Requests) or 503 (Service Unavailable).
Pushing beyond these limits not only risks throttling but also increases the chance of your emails being flagged as spam. This can harm your domain’s reputation and land your messages in the spam folder. For new mailboxes, take an even more cautious approach - start with very low volumes and gradually increase over 2–4 weeks. This slow ramp-up helps build trust with Microsoft’s systems, ensuring smoother campaigns down the line.
(function(d,u,ac){var s=d.createElement('script');s.type='text/javascript';s.src='https://a.omappapi.com/app/js/api.min.js';s.async=true;s.dataset.user=u;s.dataset.campaign=ac;d.getElementsByTagName('head')[0].appendChild(s);})(document,372145,'wzqrljsrcet38mumssx2');
DNS authentication records play a key role in ensuring your cold outreach emails actually make it to the inbox. These records - SPF, DKIM, and DMARC - serve as proof of your email's legitimacy to receiving servers. Without them, your emails are likely to end up in spam folders or be outright blocked. If you're using Microsoft 365 for sending cold emails, all three protocols are essential for maintaining high deliverability at scale.
Here's how they work together: SPF (Sender Policy Framework) specifies which IP addresses can send emails on behalf of your domain. DKIM (DomainKeys Identified Mail) adds a digital signature to your messages, ensuring they haven't been tampered with. DMARC (Domain-based Message Authentication, Reporting & Conformance) ties everything together by setting rules for what happens if SPF or DKIM checks fail. It also provides reports on email authentication activity. These combined measures build a "trust signal" that email providers like Gmail and Outlook use to decide if your emails deserve to reach the inbox. To get started, you'll need to configure these records in your domain's DNS zone.
To set up these records, you'll need to add specific entries to your domain's DNS zone through your registrar (e.g., GoDaddy, Namecheap, or Cloudflare). If you're using Microsoft 365, here are the key records to publish:
| Record Type | Host/Name | Value/Target | Purpose |
|---|---|---|---|
| SPF (TXT) | @ | v=spf1 include:spf.protection.outlook.com ~all |
Authorizes Microsoft 365 servers |
| DKIM (CNAME 1) | selector1._domainkey | selector1-[domain]-com._domainkey.[tenant].onmicrosoft.com | Adds a digital signature |
| DKIM (CNAME 2) | selector2._domainkey | selector2-[domain]-com._domainkey.[tenant].onmicrosoft.com | Backup digital signature |
| DMARC (TXT) | _dmarc | v=DMARC1; p=none; rua=mailto:[email protected] |
Enforces policies and reports authentication activity |
For DKIM, publishing the DNS records is just one part of the process. You'll also need to activate it in the Microsoft Defender portal by enabling the feature for outgoing mail. Skipping this step leaves your emails unsigned, which can hurt deliverability.
When implementing DMARC, start cautiously. Begin with p=none to monitor authentication results without affecting email delivery. Once SPF and DKIM are passing consistently, move to p=quarantine, and eventually to p=reject to block unauthenticated messages. Regular reviews of your setup will help maintain strong deliverability.
Setting up your DNS records isn't a "set it and forget it" task. Regular audits are essential to catch issues like typos, IP mismatches, or missing records that can harm your email deliverability. Tools like MXToolbox or Google Admin Toolbox can help you verify your SPF, DKIM, and DMARC configurations. These tools can identify common errors, such as having multiple SPF records (which invalidates authentication) or incorrect CNAME targets for DKIM.
Managing DNS records manually can be tedious and error-prone. A single typo can take over 24 hours to propagate, delaying fixes and disrupting your campaigns. To streamline this process, tools like Primeforge automate DNS updates with built-in validation. This reduces setup time to about 30 minutes and eliminates costly mistakes. For teams juggling multiple domains or mailboxes, automated updates and proactive alerts can save time and help avoid unnecessary headaches.
Your sender reputation acts like a credit score for your domain and IP address. Email providers, including Microsoft 365, track metrics such as bounce rates, spam complaints, and engagement levels to determine your reputation. A poor score can send your emails straight to spam folders, while a good reputation ensures they land in recipients' inboxes. This becomes especially crucial for cold outreach, where even small errors can severely impact your deliverability. Microsoft’s anti-spam filters are strict, so maintaining a strong reputation is essential.
Building this reputation takes time and consistent, positive engagement. The first step? Warming up new mailboxes. You can’t simply create a new Microsoft 365 account and start sending hundreds of emails right away. Doing so risks getting flagged or blacklisted. Instead, begin with a low volume of emails and gradually increase over several weeks. For example, start well below Microsoft’s daily limit of 10,000 recipients and scale slowly over 4–6 weeks. Early on, focus on generating positive signals like replies, opens, and low complaint rates - these tell Microsoft that your emails are legitimate. Let’s dive into the specifics of warming up mailboxes.
The warm-up process mimics natural email behavior. Start with very low volumes, gradually increasing while prioritizing high engagement. This approach builds trust with Microsoft’s algorithms. During the first week, send only a small number of emails, then slowly increase your volume by week three. By week six, most accounts can handle larger volumes without triggering spam filters. Scaling too quickly, however, can look suspicious and lead to throttling or permanent reputation issues.
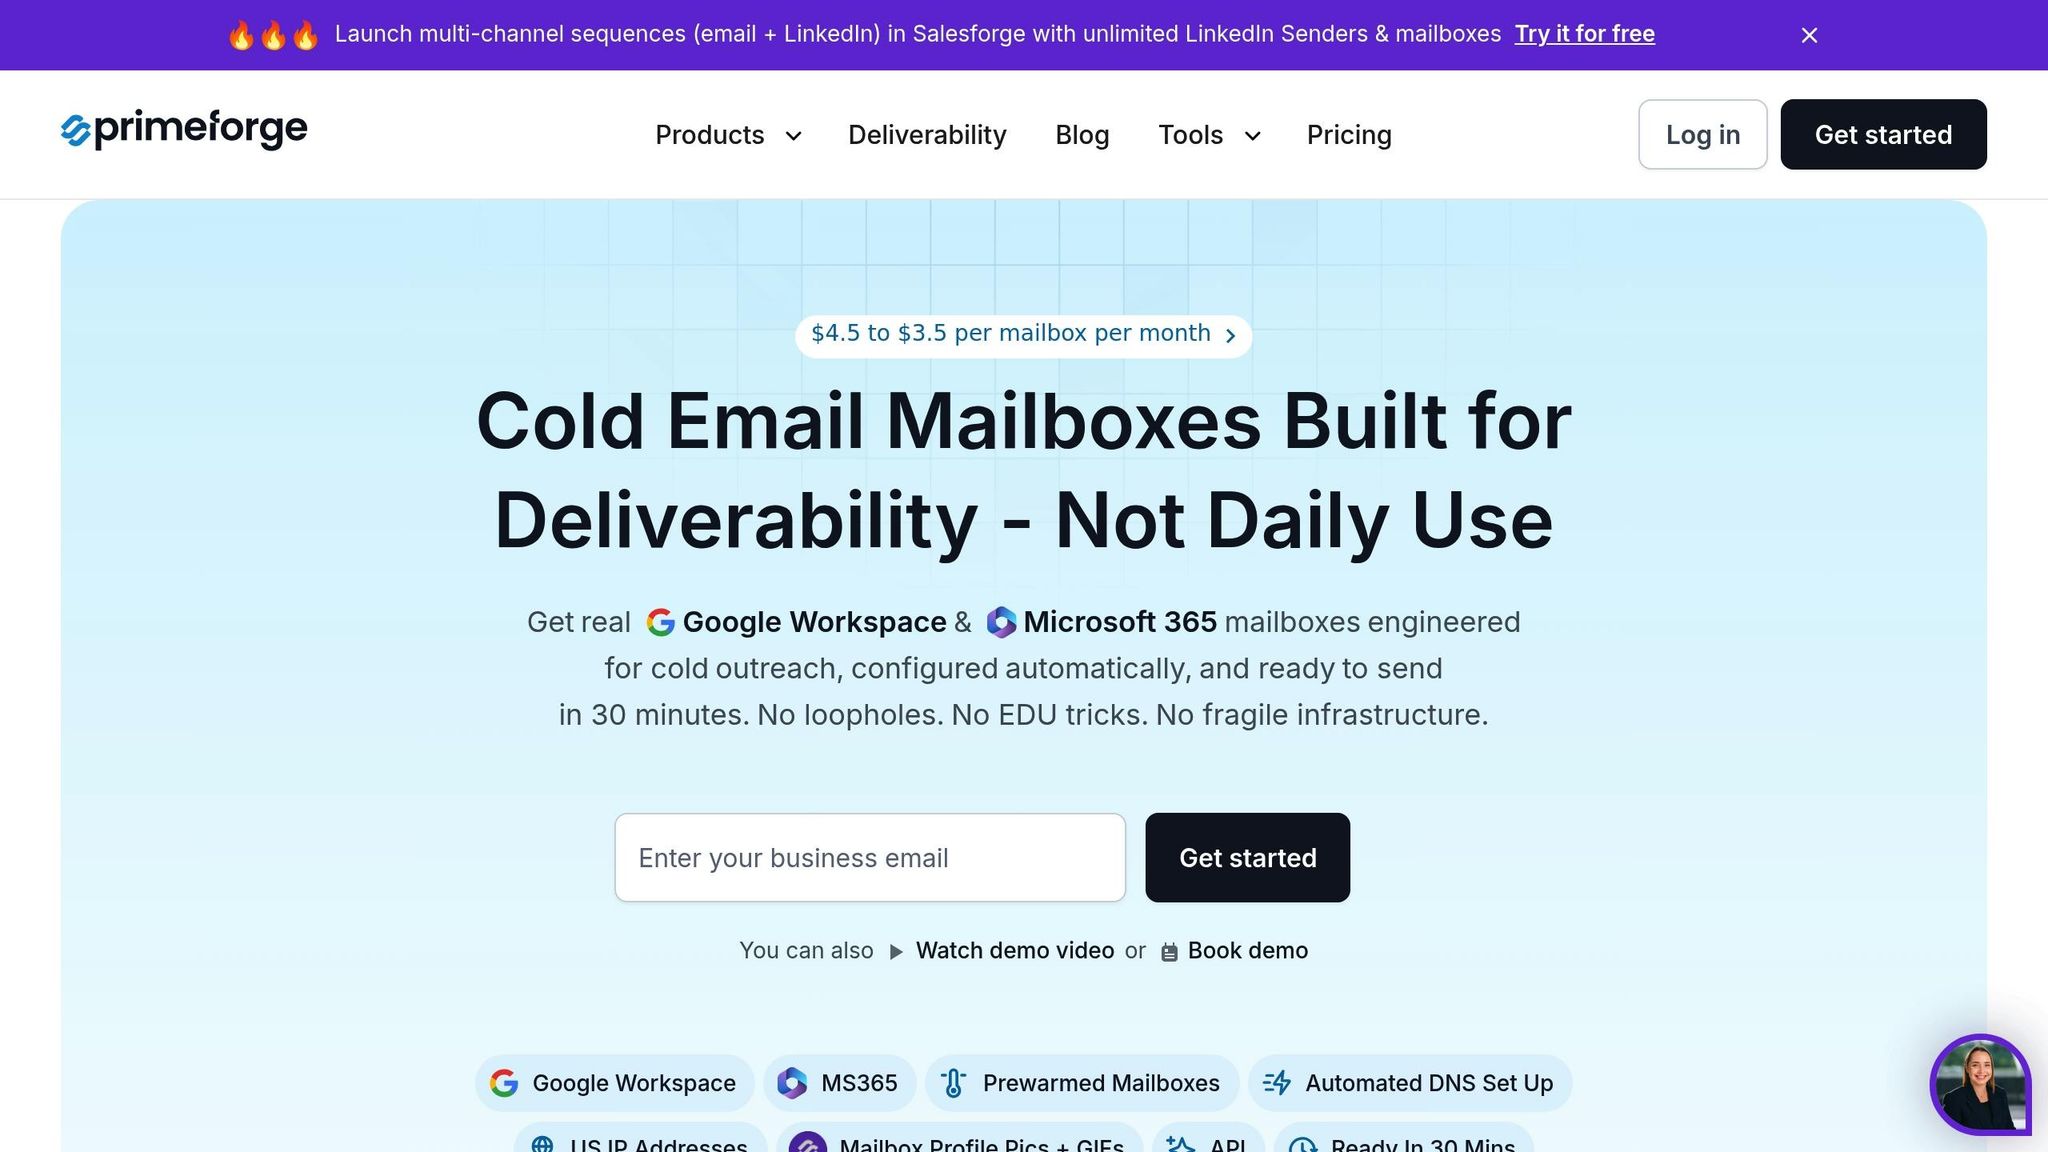
Engagement is the cornerstone of a successful warm-up. Aim for reply rates above 8–10% and keep spam complaint rates below 0.1%. Tools like Warmforge, which comes free with Salesforge subscriptions, can automate this process by simulating realistic email interactions and gradually increasing your sending volume. If you’re managing multiple Microsoft 365 accounts, platforms like Primeforge simplify the process by handling warm-up tasks across all mailboxes simultaneously. Their US-based IP addresses also start with cleaner reputations, giving you an advantage in deliverability.
Once you’ve built up your sending volume and engagement, focus on maintaining clean contact lists to avoid spam traps and blacklisting.
Spam traps are email addresses designed to catch senders who don’t maintain proper list hygiene. These traps can include recycled addresses that haven’t been active for over 90 days or honeypot addresses deliberately placed on websites to catch scrapers. Hitting a spam trap can instantly blacklist your domain, blocking emails to major providers like Outlook and Hotmail. Recovery is time-consuming and involves lengthy appeals, so prevention is key.
To avoid spam traps, keep your contact lists clean. Remove hard bounces immediately and suppress addresses that haven’t engaged after three email attempts. Keep your bounce rate below 2% and regularly validate your lists using tools like NeverBounce. Avoid purchased email lists - they’re often riddled with invalid addresses and spam traps. Monitor your blacklist status weekly with tools like MXToolbox, and pay attention to Microsoft 365 admin alerts. If your domain does get blacklisted, reduce your sending volume right away and submit delisting requests with evidence of your list-cleaning practices. For teams managing large-scale cold outreach, Primeforge’s bulk DNS management and automated monitoring can catch potential issues early, safeguarding your reputation across multiple mailboxes without manual intervention.
Even with everything set up correctly, Microsoft 365 cold outreach campaigns can still hit bumps in the road. The two main troublemakers? SMTP configuration errors and deliverability issues. Thankfully, most of these problems have straightforward solutions. Knowing how to interpret error codes and keeping an eye on the right metrics can save you a ton of time and help ensure your emails don’t end up in spam folders.
One common issue is Error 5.7.60, which pops up when the authenticated account doesn’t have "Send As" permissions for the email address in the "From" field. This often happens with shared mailboxes or aliases. To fix it, head to the Exchange Admin Center and grant "Send As" permissions to the sender address.
Authentication errors are another frequent headache. Error 535 5.7.3 usually points to incorrect credentials or an MFA block, while 535 5.7.139 means SMTP AUTH is disabled. If MFA is turned on, create an App Password for SMTP access instead of using your regular login credentials. Make sure your settings are correct: use smtp.office365.com on Port 587, enable TLS encryption, and confirm that SMTP AUTH is enabled for the mailbox in the Exchange Admin Center.
For cold outreach, avoid Direct Send - it only works for internal recipients. If you’re reaching out to external domains like Gmail or Yahoo, you’ll need to configure Client SMTP Submission or SMTP Relay. To confirm your setup, try running telnet smtp.office365.com 587 from your command line to check if the server is reachable from your network.
Once configuration issues are sorted out, the next challenge is tackling low deliverability rates.
If your emails are still underperforming after fixing configuration errors, it’s time to focus on deliverability. Low open rates or emails landing in spam folders often stem from authentication failures or throttling issues. Use header checks to confirm that "DKIM=Pass", "SPF=Pass", and "DMARC=Pass" are all in place after making any changes. If you see "DKIM body hash did not verify", it means your email content was altered after signing - this can happen if tracking pixels or CRM tools modify the email and break the signature.
Throttling is another common problem, triggered by sudden spikes in email volume, unverified domains, or low engagement. Watch for HTTP status codes like 429 (Too Many Requests) or 503 (Service Unavailable) in your logs. These often come with "retry-after" headers that tell you how long to wait before sending more emails. Microsoft 365 has strict limits: you can send to 10,000 recipients per day and send up to 30 messages per minute via client SMTP submission. Going over these limits will result in automatic blocks.
For better results, make sure you only have one SPF record per domain and stay within the 10 DNS lookup limit. Use ip4: mechanisms for fixed infrastructure to save on lookups. If you’re managing multiple mailboxes, tools like Primeforge can help by automating DNS validation and bulk management to catch errors before they hurt your deliverability. Plus, their US-based IP addresses often provide cleaner reputations compared to the random geographic assignments in standard Microsoft 365 setups.
| Error Code | Meaning | Practical Solution |
|---|---|---|
| 5.7.60 | No "Send As" Permissions | Grant "Send As" rights in Exchange for the sender address |
| 535 5.7.3 | Authentication Unsuccessful | Verify credentials or generate an App Password if MFA is enabled |
| 535 5.7.139 | Authentication Failed | Enable SMTP AUTH in the Exchange Admin Center |
| 429 | Too Many Requests | Reduce sending volume and wait for the retry-after period |
Once you've fine-tuned your SMTP settings and authentication, the next challenge is scaling your outreach efforts. Microsoft 365, while robust, wasn’t designed to handle large-scale cold email campaigns. Manual processes simply can’t keep up. That’s where Primeforge steps in - a specialized tool designed to help scale Microsoft 365 cold outreach. It bridges the gap between basic email setup and managing high-volume campaigns with ease.
Primeforge simplifies the most tedious aspects of managing Microsoft 365 infrastructure. For example, its automated DNS setup can cut configuration time down to just 30 minutes, minimizing the risk of deliverability issues.
Another standout feature is its use of US-based IP addresses, which gives you a scaling advantage. Sending emails from IPs that match your target audience’s geographic region helps Internet Service Providers (ISPs) identify your messages as legitimate business communications - not spam. Plus, Primeforge’s infrastructure aligns your campaigns with U.S. business hours, improving both timing and deliverability.
For teams juggling multiple campaigns or clients, Primeforge offers tools like bulk DNS updates and multi-workspace management, which drastically improve efficiency. Instead of manually updating authentication records for each domain, you can handle dozens at once. It even automates mailbox profile picture setup, which can boost sender credibility.
"Primeforge takes care of all the technical deliverability details - SPF, DKIM, DMARC, domain warm-up, and DNS records - without me needing to touch anything."
While Microsoft 365 is a solid platform, it requires a lot of manual effort for tasks like DNS configuration, mailbox setup, and warm-up processes. It also comes with strict sending limits - 10,000 recipients per day and 30 messages per minute. Although Primeforge doesn’t bypass these limits, it makes working within them much more efficient.
With Primeforge, setup time drops from over 24 hours to just 30 minutes. It also reduces mailbox costs by 46%, offering mailboxes for around $4.50 each compared to Microsoft 365’s standard $8.40 rate. On top of that, Primeforge integrates seamlessly with the broader Forge Stack, which includes tools for email warm-up, multi-channel outreach, and lead generation. This integration ensures your infrastructure, warm-up data, and campaign performance work together smoothly - no manual exports or complicated API setups required.
By automating technical tasks and streamlining workflows, Primeforge allows teams to shift their focus from troubleshooting to crafting effective campaign strategies. It addresses Microsoft 365’s known limitations - like authentication challenges and reputation management - through automation and smarter processes.
"For us, Primeforge became a reliable hub for automated communication at scale."
To optimize Microsoft 365 SMTP for cold outreach, configure smtp.office365.com on port 587 with STARTTLS, ensure full email authentication using an app password, and implement SPF, DKIM, and DMARC records. These steps, combined with proper warm-up routines and consistent list hygiene, can push deliverability rates up to 95%. Establishing this technical groundwork is crucial before scaling your campaigns effectively.
Keep in mind that Microsoft 365 enforces limits of 10,000 recipients per day and 30 messages per minute. To navigate these restrictions, automation tools like Primeforge can be a game-changer. They cut setup time from over 24 hours to about 30 minutes and reduce mailbox costs from around $6.00 to a range of $3.50 to $4.50.
For best results, aim for engagement metrics like 20–30% open rates, 1–5% reply rates, and complaint rates below 0.1%. Pair optimized SMTP settings with a gradual warm-up process and frequent deliverability tests across platforms like Gmail, Outlook, and Yahoo. This combination ensures you catch potential issues early and build a reliable framework for cold outreach success.
To configure Microsoft 365 for cold email outreach, you'll need to use the Office 365 SMTP server with secure connection options like TLS or SSL. Make sure to set the correct port: 587 for TLS or 465 for SSL. Authentication requires your Microsoft 365 email credentials. Additionally, setting up an SMTP relay properly is essential to ensure reliable delivery of your emails.
Fine-tuning these settings plays a big role in improving email deliverability, increasing the chances that your outreach messages make it to recipients' inboxes - an important step for running effective campaigns.
To improve email deliverability and keep your messages out of spam folders, start by authenticating your domain using SPF, DKIM, and DMARC protocols. These steps establish your domain's credibility with email providers. Next, gradually warm up your mailboxes by sending 50–100 emails per day to clean, personalized contact lists. Stick to relevant, engaging content and steer clear of spam-triggering phrases or formats.
If you're using Microsoft 365, tools like Primeforge can make this process much easier. It automates tasks like DNS setup, bulk updates, and mailbox warm-up, helping you fine-tune your email infrastructure. This ensures better deliverability rates, especially for cold outreach campaigns.
Warming up new email accounts is a crucial step to secure a good sender reputation with email providers. This process builds trust, minimizes the risk of your emails landing in spam folders, and improves the chances of your messages reaching inboxes.
Skipping the warm-up phase can lead to poor open rates or, worse, getting your account blacklisted - both of which can seriously impact the success of your cold outreach efforts. A gradual warm-up ensures you send emails steadily while keeping your credibility intact with email servers.
