SPF (Sender Policy Framework) is a critical part of email authentication that verifies which servers can send emails on behalf of your domain. Without proper SPF setup, your emails may end up in spam or be rejected entirely. For Google Workspace, this involves updating your domain's DNS settings to include Google's mail servers using include:_spf.google.com.
v=spf1 include:_spf.google.com ~all.If managing DNS feels overwhelming, platforms like Primeforge automate SPF, DKIM, and DMARC setups, saving time and reducing errors. This is especially helpful for organizations managing multiple domains or large-scale email campaigns.
Proper SPF configuration ensures better email deliverability and protects your domain from spoofing attempts.
Before diving into SPF setup, make sure you have two key things: admin access to your DNS settings and an active Google Workspace account. Double-check these prerequisites to ensure a smooth setup process.
First, you’ll need access to your domain’s DNS settings. These settings are usually managed by your domain registrar or DNS hosting provider. Log into your domain host account to update TXT records, which is where SPF records are added.
Many popular U.S.-based registrars provide easy-to-use DNS management tools. Once logged in, head to the DNS management section to make the necessary changes. If you’re unsure how to proceed, check your registrar’s support guides. Also, confirm that you have administrative privileges - if not, you might need help from your IT team.
To set up SPF records, you’ll need an active Google Workspace account. While Google Workspace is essential for sending emails, SPF records themselves are configured through your domain host’s DNS settings.
SPF records serve as a signal to recipient email servers, verifying that Google is authorized to send emails on behalf of your domain. Keep in mind that this configuration happens entirely through your DNS provider.
If managing DNS settings feels overwhelming, tools like Primeforge can simplify the process. Primeforge automates DNS configuration, making it easier to handle tasks like bulk SPF record updates and ongoing monitoring - perfect for organizations managing multiple domains or large-scale campaigns.
When you set up Google Workspace mailboxes with Primeforge, the platform automatically configures all necessary DNS records following industry best practices. This automation ensures your email authentication is set up correctly right from the start, eliminating the need to navigate complex DNS interfaces or worry about syntax errors.
For companies managing multiple workspaces or running extensive outreach efforts, Primeforge’s bulk DNS update feature is a game-changer. Instead of manually configuring SPF records for each domain, the platform handles everything for you. Plus, it continuously monitors your DNS settings to ensure they stay optimized as your infrastructure grows.
Follow these steps to configure SPF records and avoid common mistakes that could affect your email deliverability.
First, log in to your DNS control panel. This might be through your domain registrar, such as GoDaddy, Namecheap, or Cloudflare. Once logged in, navigate to the section labeled "DNS Management", "DNS Records", or "Zone File Editor."
In the DNS management area, locate the TXT records section, as this is where SPF records are stored. If an SPF record already exists, you'll need to edit it instead of creating a new one. For first-time setups, choose the option to "Add Record."
v=spf1 include:_spf.google.com ~allHere’s a quick breakdown of what each part of the SPF record does:
v=spf1: Indicates this is an SPF version 1 record.include:_spf.google.com: Authorizes Google's mail servers to send emails on behalf of your domain.~all: Implements a "soft fail" policy, flagging emails from unauthorized servers as suspicious without outright rejecting them.After saving your updates, DNS propagation can take up to 48 hours, though changes often appear much sooner. Once this step is complete, verify your setup to ensure everything is functioning correctly.
Several common mistakes can derail your SPF configuration. Here’s what to watch out for:
include: statements.
include:_spf.google.com is typed exactly as shown, including the underscore.
-all): Using a hard fail policy too soon can result in legitimate emails being rejected. Stick with the more forgiving ~all (soft fail) during initial setup and testing.
include: statement in your SPF record counts toward a maximum of 10 DNS lookups. If you’re authorizing multiple email services, exceeding this limit can cause SPF failures.
For those managing multiple domains, Primeforge offers a time-saving solution with its bulk DNS update feature. Instead of manually configuring SPF records for each domain, Primeforge automates the process, ensuring every domain is set up with the correct syntax:
v=spf1 include:_spf.google.com ~all.
This automation minimizes the risk of errors and ensures consistent configurations across all your domains. Additionally, when provisioning Google Workspace mailboxes through Primeforge, the platform automatically sets up SPF, DKIM, and DMARC authentication. This all-in-one approach ensures your email infrastructure is properly configured from the start, even if you lack technical DNS expertise.
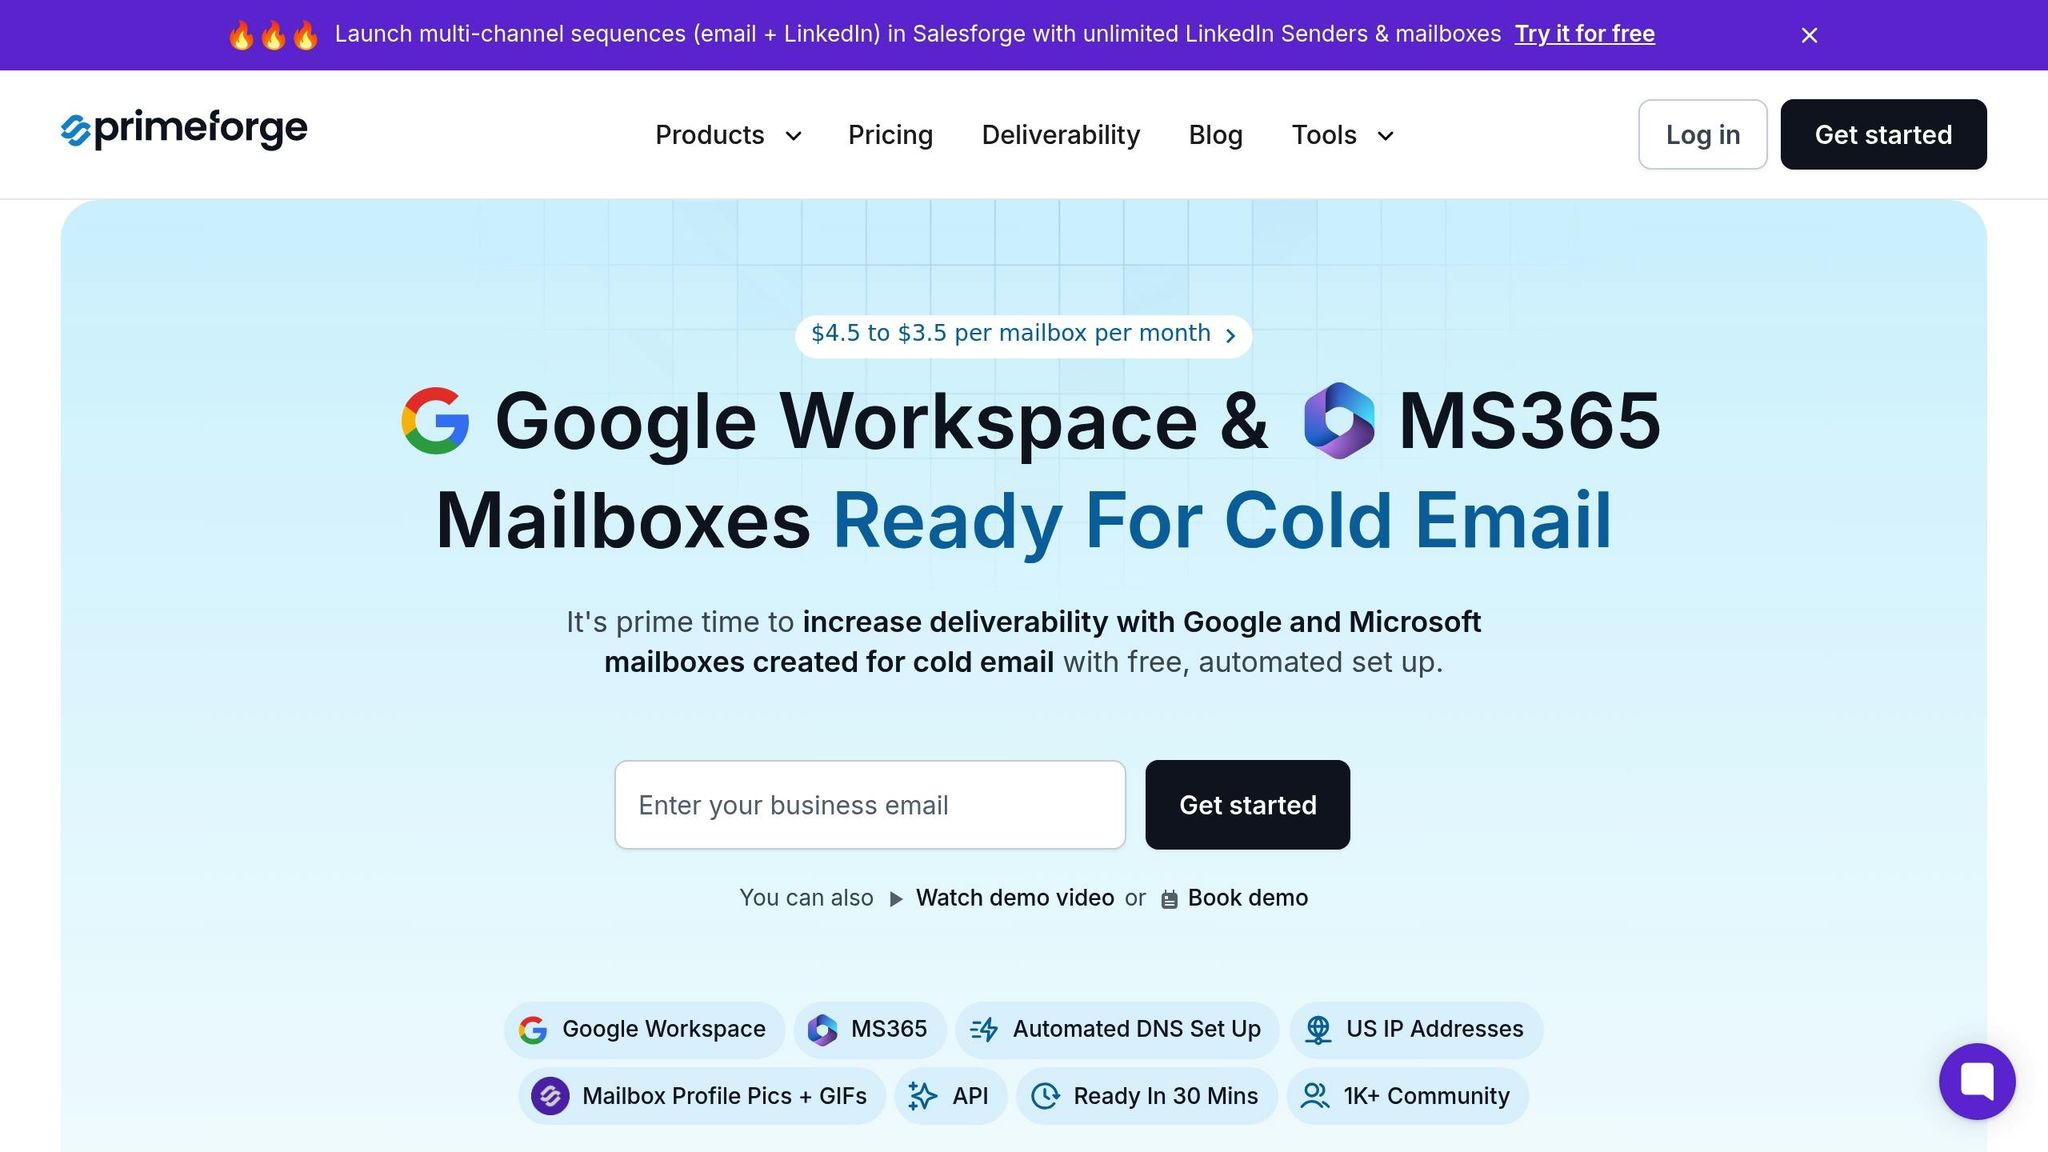
If you’re managing large-scale email operations, this feature saves significant time and reduces the chances of mistakes that can impact email deliverability. Pricing starts at $4.50 per mailbox per month, making it a cost-effective option when considering the time saved and the reduced risk of configuration errors.
Ensuring your SPF record is properly set up and functioning is crucial for email authentication. Once you've configured your SPF record, it's time to test and, if needed, tweak it for optimal performance.
To confirm that your SPF record is correctly propagated, online DNS propagation tools are your best bet. These tools scan global DNS servers to check if your SPF record is visible and properly formatted.
Platforms like DNS Checker (dnschecker.org), whatsmydns.net, or MXToolbox make this process simple. Just input your domain name, select "TXT record", and hit "Search." Results are displayed on a world map, with green checkmarks indicating successful propagation and red crosses pointing to issues.
Keep in mind that DNS propagation can take anywhere from a few minutes to 72 hours. If you want to speed things up next time, consider lowering your DNS records' TTL (Time to Live) a few days before making changes.
If testing reveals problems, they often fall into a handful of common categories:
include:_spf.google.com should be formatted exactly as: v=spf1 include:_spf.google.com ~all.For ongoing management, automated tools can make life much easier. Primeforge offers built-in SPF, DKIM, and DMARC validation tools, streamlining the process. When you set up Google Workspace mailboxes through Primeforge, the platform automatically verifies that your email authentication records are configured correctly. If it detects any issues, you'll be notified right away.
For organizations juggling multiple domains or large-scale email operations, these automated checks can save significant time and effort. Primeforge not only simplifies compliance monitoring but also helps maintain a well-functioning email infrastructure with minimal manual intervention.
To fully secure your email system, SPF is just the start. Adding DKIM and DMARC ensures a comprehensive email authentication framework.
Email authentication relies on three key components working together:
DMARC is particularly important for protecting your domain, but it requires properly configured SPF and DKIM records to function effectively. Interestingly, about 75–80% of domains with DMARC records fail to enforce it fully because their SPF and DKIM setups are incomplete or not properly maintained.
When rolling out DMARC, start with a policy of "p=none" to monitor your email traffic without affecting delivery. This lets you identify and authorize all legitimate email sources. Once you've done this, you can gradually move to stricter policies, like "p=quarantine" and eventually "p=reject", for stronger protection.
Also, don’t forget to authorize all third-party senders in your SPF record, as this is often overlooked.
Chances are, your Google Workspace isn’t the only platform sending emails for your domain. Tools like Mailchimp, Salesforce, and other business platforms also send emails on your behalf. It’s crucial to authorize every in-house and third-party email sender to prevent legitimate emails from being flagged or rejected by recipient servers.
However, there’s a catch: SPF allows only ten DNS lookups. Exceeding this limit results in a PermError, which can disrupt email delivery. Each "include:" statement in your SPF record counts as one lookup.
To avoid hitting this limit:
Managing SPF, DKIM, and DMARC manually can get messy, especially if you’re juggling multiple domains or scaling up your email operations. Here's how manual configuration stacks up against Primeforge’s automated setup:
| Aspect | Manual Configuration | Primeforge Automated Setup |
|---|---|---|
| Setup Time | 24+ hours | ~30 minutes |
| Technical Complexity | High - requires DNS expertise | Fully automated |
| Accuracy | Relies on manual precision | Adheres to best practices |
| Scalability | Labor-intensive for multiple domains | Bulk DNS management |
| DMARC Enforcement | Many fail to achieve proper enforcement | Simplifies enforcement |
| Ongoing Maintenance | Requires regular manual updates | Streamlined bulk updates |
Primeforge not only simplifies the technical side of email authentication but also offers cost savings. You can save 25% to 46% compared to purchasing mailboxes directly from Google or Microsoft. Plus, when you set up Google Workspace mailboxes through Primeforge, SPF, DKIM, and DMARC configurations are handled automatically. This eliminates the risk of human error and ensures everything is set up correctly from the start.
For organizations managing multiple domains, Primeforge’s bulk DNS management is a game-changer. Tasks that would take hours - like updating records across multiple DNS providers - can be completed in just a few clicks. This level of automation isn’t just convenient; it’s essential for maintaining reliable email deliverability and keeping your domain secure.
Setting up SPF records for Google Workspace is a straightforward process that plays a crucial role in protecting your domain. By ensuring legitimate emails land in inboxes and blocking malicious attempts, SPF records strengthen your email authentication. Key steps like using the correct syntax, staying within DNS lookup limits, and integrating SPF with DKIM and DMARC create a solid foundation for email security.
Primeforge takes this process a step further by automating the setup of SPF, DKIM, and DMARC for each domain. What typically takes hours can now be completed in about 30 minutes. For organizations managing multiple domains, Primeforge’s bulk DNS management features make it possible to automate DNS setup in just a few minutes.
If you skip setting up an SPF record for your Google Workspace domain, your emails could end up flagged as spam or even rejected by recipient servers. This can cause delivery problems, missed messages, and damage to your domain's email reputation.
An SPF record acts as a safeguard, helping to authenticate your emails so they’re recognized as legitimate. This not only boosts deliverability but also protects your domain from spoofing and phishing attempts, which can seriously undermine your credibility.
To ensure your SPF record stays within the DNS lookup limit of 10, it's important to reduce the number of 'include' mechanisms. A practical way to achieve this is by using SPF flattening. This method replaces the includes with direct IP addresses, significantly cutting down on lookups.
You can also use tools or services like Primeforge to streamline this process. These tools optimize your SPF record by consolidating entries and ensuring it complies with the lookup limit. This approach not only keeps you within SPF guidelines but also helps maintain consistent email deliverability.
Using SPF, DKIM, and DMARC together forms a strong defense for your email security. Each protocol plays a unique role: SPF verifies which servers are permitted to send emails on your domain’s behalf, ensuring only approved sources are used. DKIM adds an encrypted digital signature to your emails, guaranteeing the message remains unchanged during transit. Finally, DMARC acts as the enforcer, applying policies based on SPF and DKIM results to block spoofing and phishing attempts.
When combined, these protocols not only protect your domain from misuse but also boost email deliverability. This means your emails are more likely to land in recipients' inboxes, all while maintaining your domain's credibility and reputation.
