Microsoft 365 OAuth is a modern, token-based authentication method that replaces outdated password-based systems. It’s designed to improve email security and streamline integrations with platforms like Primeforge. Here’s what you need to know:
To set up OAuth for Microsoft 365, you’ll need administrative access to Azure Active Directory, verified sending domains, and specific API permissions like Mail.Send. The process involves registering an application in Azure AD, configuring permissions, generating credentials, and connecting them to your email platform. Platforms like Primeforge simplify this process by automating key steps and providing tools for testing and troubleshooting.
Before diving into the configuration of OAuth, make sure you’ve got the right permissions and all the technical details in place. Here's what you'll need to ensure a smooth setup process.
To set up OAuth, you must have administrative privileges in your Microsoft 365 tenant. Specifically, you'll need either Global Administrator or Application Administrator rights to create and manage applications within Azure Active Directory. Without these permissions, registering new applications and assigning API permissions won’t be possible.
Make sure your Azure Active Directory permissions include the ability to register apps and provide admin consent. If these permissions are restricted, collaborate with your IT team to gain access.
Additionally, ensure you have access to at least one Microsoft 365 mailbox with "Send As" permissions, which is essential for testing the integration.
Finally, confirm ownership of all sending domains in Microsoft 365. This step is crucial for authorizing the OAuth application.
Here’s a checklist of the technical details you’ll need:
Mail.Send, Mail.ReadWrite, and User.Read.
If your organization is based in the United States, there are additional compliance considerations. Ensure that date formats follow the U.S. standard (MM/DD/YYYY) and use the 12-hour clock for time. Also, review any industry-specific compliance policies that may apply to your OAuth integration to ensure it meets regulatory standards.
<script>(function(d,u,ac){var s=d.createElement('script');s.type='text/javascript';s.src='https://a.omappapi.com/app/js/api.min.js';s.async=true;s.dataset.user=u;s.dataset.campaign=ac;d.getElementsByTagName('head')[0].appendChild(s);})(document,372145,'wzqrljsrcet38mumssx2');</script>
With all the prerequisites ready, let’s dive into the OAuth setup process. This configuration establishes a secure link between Microsoft 365 and your email sending platform, enabling authenticated access to your mailboxes.
Start by logging into the Microsoft Entra admin center (formerly Azure portal) at entra.microsoft.com. Once inside, navigate to Azure Active Directory > App registrations > New registration. This step sets up a secure connection with Microsoft's identity services.
Provide a clear application name, such as "Email Campaign OAuth App" or "Primeforge Integration", for easy identification later. Under Supported account types, choose Accounts in this organizational directory only if you're working within your own tenant. If broader access is needed, select Accounts in any organizational directory.
In the Redirect URI section, select Web as the platform type and enter the redirect URI provided by your email platform. For Primeforge users, this URI is specific to your account setup. Unsure of the exact URI? Don’t worry - you can add it later in the Authentication settings.
Finally, click Register to create the application.
Registering an application in Microsoft Entra ID (formerly Azure Active Directory) establishes a trust relationship between your app and the Microsoft identity platform.
After registration, go to the application's overview page. From the left sidebar, select API permissions and click Add a permission. Choose Microsoft Graph as the API type.
Decide between Application permissions for automated processes or Delegated permissions for scenarios where users need to sign in interactively. For most cold email campaigns, the following permissions are typically required:
Search for and add each permission to your app. Once all required permissions are added, click Grant admin consent for [Your Organization]. This step is essential - without admin consent, the OAuth integration won’t function correctly.
It usually takes about 2–3 minutes for the consent to propagate through Microsoft’s systems. Once complete, green checkmarks will appear next to the permissions, confirming they’re active.
On the application's Overview page, locate the Application (client) ID and Directory (tenant) ID. Copy these values and store them securely, as they’re essential for your OAuth configuration.
Next, go to Certificates & secrets in the left menu and click New client secret to generate the required credential. Choose an expiration period - Microsoft typically suggests 12–24 months for balancing security and maintenance needs.
The client secret value is displayed only once immediately after creation, so it must be copied and stored securely at that time.
Copy the client secret value (not the secret ID) and save it securely. If you lose this value, you’ll need to generate a new secret. Store all three credentials - client ID, tenant ID, and client secret - in a secure location, such as Azure Key Vault or your organization’s password manager.
Avoid embedding these credentials directly in your code or committing them to version control systems like Git. Instead, use environment variables or a dedicated secret management tool.
With your credentials securely stored, you’re ready to connect OAuth to your email platform.
In the Primeforge dashboard, go to Mailbox Settings and select Add Microsoft 365 Account. Enter the three OAuth credentials in their respective fields:
Primeforge takes care of the OAuth flow, including token refresh and authentication management, ensuring compliance with Microsoft’s security standards.
If you’re using a platform other than Primeforge, check your provider’s OAuth documentation for specific instructions.
The final step is to verify your setup. Before launching any campaigns, send a test email to ensure the OAuth configuration works as expected. In Primeforge, use the Test Connection feature to send a sample email from one of your configured mailboxes to your own email address.
A successful test should deliver the email to your inbox within 2–3 minutes, with proper sender authentication. If the test fails, check for common issues like an incorrect client secret, missing admin consent for API permissions, or an improperly configured redirect URI. Microsoft typically logs authentication errors with specific codes to help you troubleshoot.
Keep an eye on your initial campaigns to ensure everything runs smoothly, especially after the first token refresh.
Keeping Microsoft 365 OAuth secure requires careful attention to detail. By safeguarding your email infrastructure, you can maintain high deliverability rates and protect sensitive data.
Managing your client secrets is a key part of securing OAuth. When creating a client secret in Azure, choose an expiration period that aligns with your organization's security policies. Strike a balance between administrative convenience and robust security. To avoid disruptions, set calendar reminders ahead of the expiration date.
Store your secrets in a secure location, like a password manager or Azure Key Vault. Use long, complex secrets to reduce the risk of exposure, and make it a habit to rotate them periodically. Document the rotation process thoroughly so your team can handle renewals efficiently without interrupting ongoing email campaigns.
Once your secrets are secure, focus on minimizing permissions to tighten OAuth security further. Only grant permissions that are absolutely necessary. For example, if your primary goal is sending emails, the Mail.Send permission may suffice, rather than opting for broader permissions like Mail.ReadWrite.All. Stick to essential permissions such as Mail.Send and User.Read.All for your specific needs.
Using application permissions for automated email sending can also enhance security by reducing the need for constant user interaction. Make it a practice to regularly review and audit permissions, removing any that are no longer required.
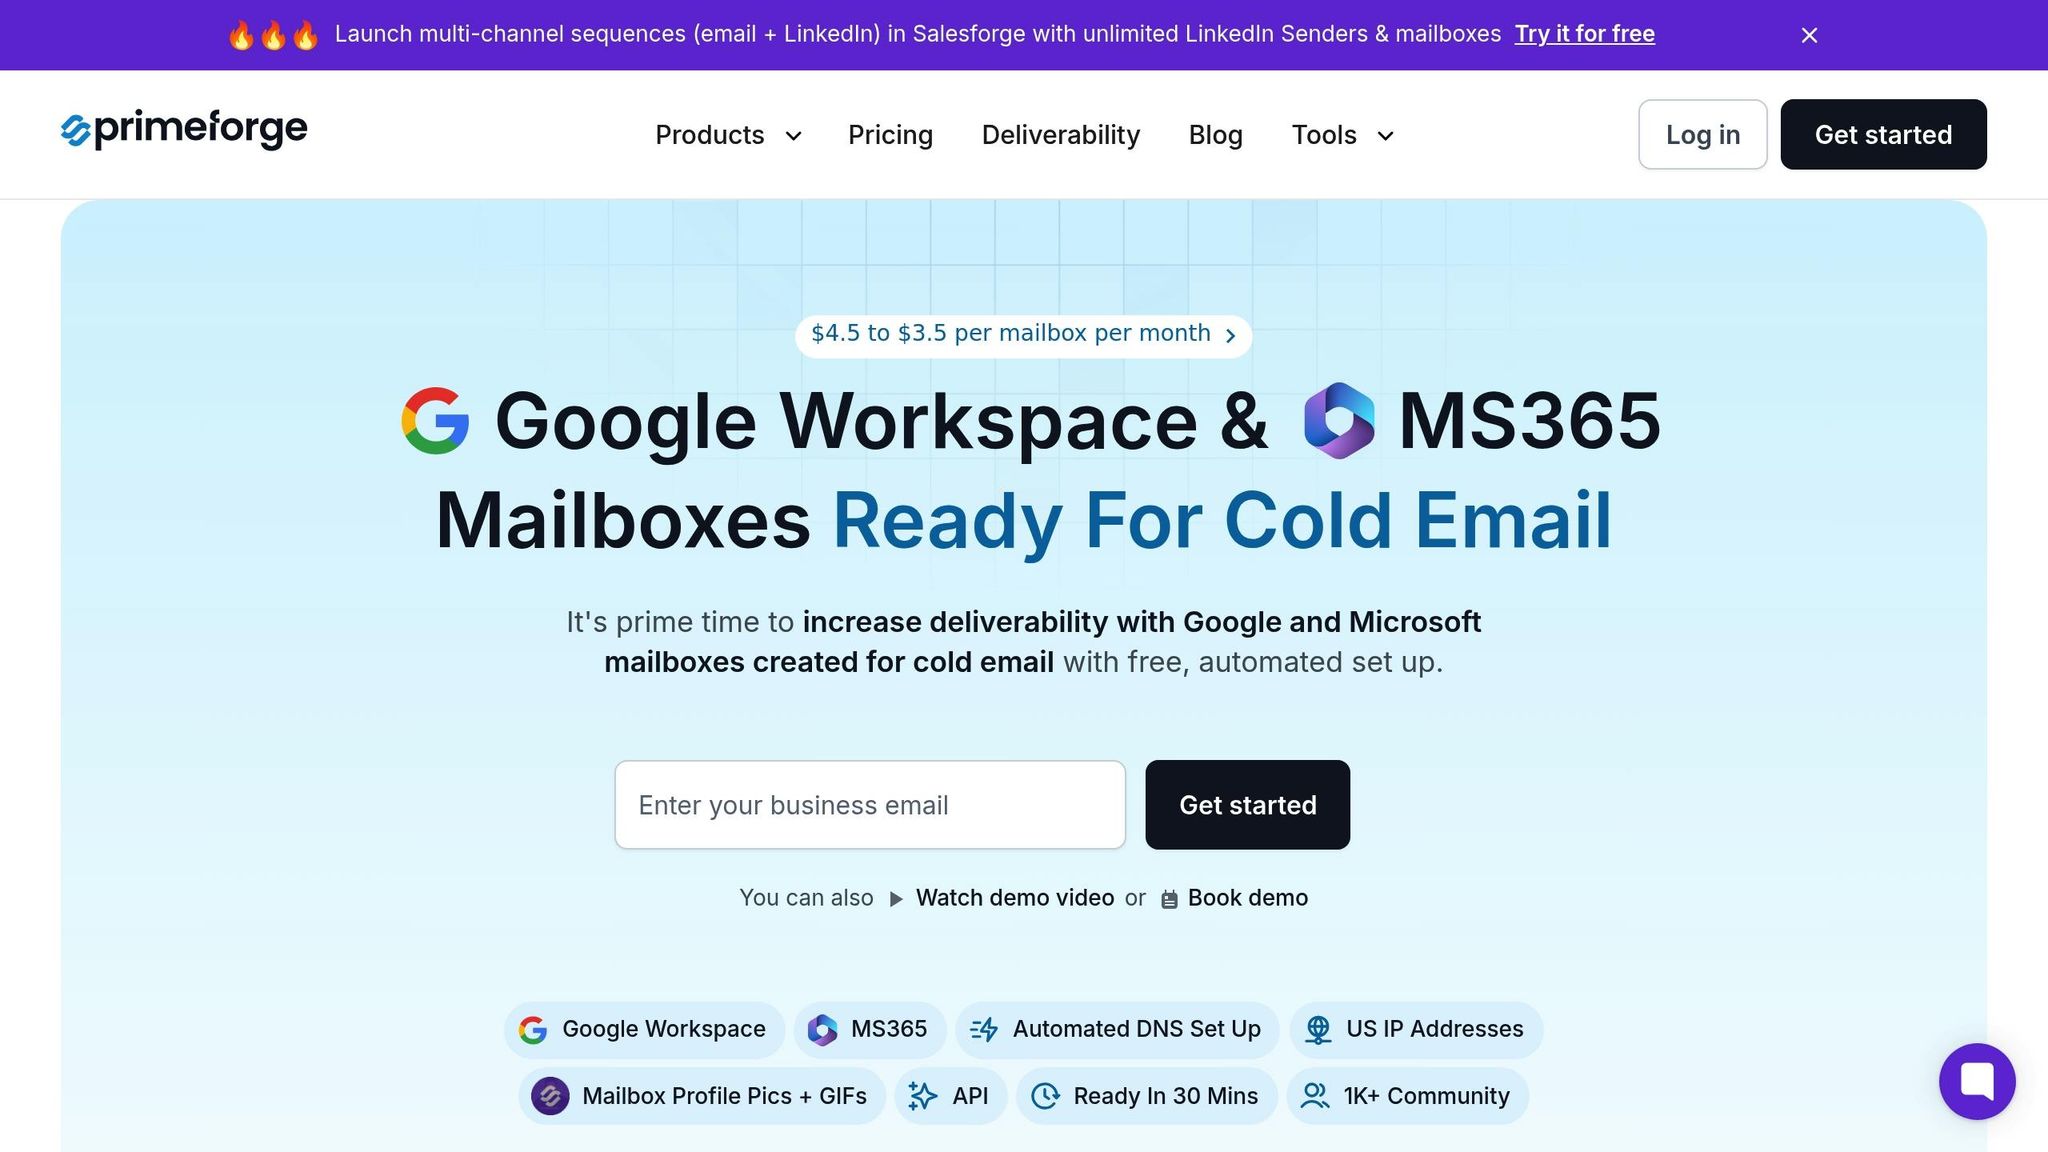
To strengthen your setup, take advantage of integrated tools like Primeforge. This platform simplifies OAuth configurations for Microsoft 365 mailboxes while addressing common challenges. For instance, Primeforge automates DNS setup, configuring DMARC, SPF, and DKIM records to improve email deliverability.
US-based IP addresses ensure consistent authentication, while bulk DNS management automates updates, saving time and reducing the chance of errors. Additionally, Primeforge's multiple workspace feature allows you to separate OAuth configurations by client or campaign, creating clear security boundaries. By integrating with the Forge Stack ecosystem, you can avoid sharing OAuth credentials across platforms, further reducing security risks.
OAuth errors can disrupt your email campaigns, making it crucial to identify and fix these issues swiftly. Here’s how to address common problems and ensure your Microsoft 365 integration works seamlessly.
Invalid credential errors often stem from incorrect or expired Client ID, Tenant ID, or Client Secret. To resolve this:
To avoid confusion, keep credentials for test and production environments separate. This prevents accidental cross-use and ensures smooth operation.
If credentials are accurate but errors persist, it’s time to tackle permission-related issues.
When credentials are correct but you still encounter errors, the issue might lie with permissions. Head to the API permissions section of your Azure AD app registration and verify that the necessary permissions are configured.
Sometimes, conditional access policies or security defaults can block API access. Collaborate with your IT administrator to review these policies and check Azure AD sign-in logs for any violations.
Also, remember the distinction between application permissions and delegated permissions. If your system automates email sending without user interaction, ensure you’re using application permissions. This impacts both the type of permissions required and the authentication flow.
If troubleshooting credentials and permissions doesn’t resolve the issue, Primeforge’s support team can assist. They specialize in Microsoft 365 integrations and can help diagnose platform-specific configuration challenges.
Primeforge’s multiple workspace feature is particularly useful for isolating OAuth issues. By testing your setup in a separate workspace, you can determine whether the problem is specific to a configuration or affects the account as a whole. This approach streamlines troubleshooting and minimizes disruption.
Before reaching out to support, gather key information such as error messages, timestamps, and the steps you’ve already taken. Share your application ID - but never include your client secret. Providing this context helps the support team address your issue more efficiently while keeping your setup secure.
After diving into the setup process and best practices, let’s wrap up with some key insights for integrating Microsoft 365 OAuth. This method offers a secure and dependable way to authenticate emails for cold campaigns, eliminating the need for password storage while enabling precise access control.
OAuth 2.0 ensures secure authentication by requiring essential credentials and minimal permissions, such as Mail.Send and User.Read. To maintain security, use strong client secrets, track their expiration, and store credentials securely. Always separate your test and production environments to avoid unintentional disruptions.
If issues arise, most credential and permission errors can be resolved by carefully reviewing your Azure AD settings. Regularly monitoring your OAuth setup is also critical to catch and address potential problems before they affect your campaigns.
Looking for an easier way to handle OAuth integration? Primeforge simplifies Microsoft 365 OAuth with automated configuration and multi-workspace features, helping to reduce setup errors that could otherwise disrupt your email campaigns.
The multi-workspace functionality is especially useful for troubleshooting. It allows you to test configurations in isolated environments without impacting active campaigns, minimizing downtime while addressing technical challenges.
Primeforge also supports API integration and works seamlessly with The Forge Stack, offering scalable OAuth solutions that can handle anything from 10 mailboxes to enterprise-level demands. Its compatibility with any email-sending software ensures a smooth integration process, while maintaining the security and reliability your campaigns need to succeed.
OAuth uses token-based authorization, which eliminates the need to transmit or store user passwords during authentication. This approach greatly lowers the chances of credential theft. On the other hand, Basic Authentication depends on usernames and passwords, leaving it more exposed to threats like credential interception or replay attacks.
Microsoft has also phased out Basic Authentication for many services, including Exchange Online, due to these security vulnerabilities. Another advantage of OAuth is its ability to support multi-factor authentication (MFA), providing an additional security layer that Basic Authentication simply cannot offer. Opting for OAuth ensures a more secure, modern, and compliant way to handle authentication in Microsoft 365.
When dealing with OAuth setup challenges in Microsoft 365, the first step is to check the status of your access and refresh tokens. Tokens that have expired are a frequent cause of login issues. Make sure they’re valid and up-to-date. Additionally, ensure your app registration includes the correct API permissions and that admin consent has been granted - this is critical for avoiding access denial errors.
If you’re running into session expiration or reauthentication issues, it’s worth confirming the token’s validity and reauthenticating if necessary. Double-check that the required scopes are configured correctly and have been approved by an administrator. Tools like Test-OAuthConnectivity can be incredibly helpful in identifying configuration problems early on, saving you time and effort.
For a smoother setup process, platforms like Primeforge can be a game-changer. They simplify email infrastructure setup in Microsoft 365 with features such as automated DNS configuration and built-in troubleshooting support for OAuth integrations.
To integrate OAuth with Microsoft 365 securely and maintain compliance, organizations in the US should adhere to Microsoft's recommended security practices. This involves carefully managing OAuth app permissions, opting for secure authorization methods like the authorization code flow, and routinely reviewing app access to minimize the risk of unauthorized usage.
Staying informed about Microsoft's latest compliance requirements and correctly implementing OAuth 2.0 standards is equally critical. For organizations looking to streamline this process, tools like Primeforge can be a valuable asset. These solutions are designed to simplify OAuth management and help ensure compliance within Microsoft 365 environments while boosting overall security.
